
最近为了做DolphinScheduler的演示,因此需要一套大数据的环境,因此记录下这些大数据组件的安装。首先我们需要安装一个hbase的环境,这里我们使用的hbase版本是hbase-2.5.3-hadoop3,因此在192.168.31.218这台服务器上安装一个单机版本的hbase,下面我们直接演示一下:
一、在官网下载zookeeper
使用hbase的时候,我们首先需要一个zookeeper,在hbase里面其实已经自带有zookeeper了,但是在真实的环境中,我们一般还是会单独下载zookeeper,并且单独安装zookeeper。因此这里首先我们需要下载一个zookeeper,zookeeper的官网下载地址是:zookeeper官网下载。这里我们下载完毕之后,把zookeeper上传到服务器上。

二、安装zookeeper
这里的话,我们安装zookeeper只需要安装一个单机版本就可以了(因为是演示环境),详细的安装步骤如下:
#进入到zookeeper安装目录
cd /home/pubserver/zookeeper/conf

#拷贝一个配置文件
cp -r zoo_sample.cfg zoo.cfg

#启动zookeeper
cd /home/pubserver/zookeeper/bin
./zkServer.sh start
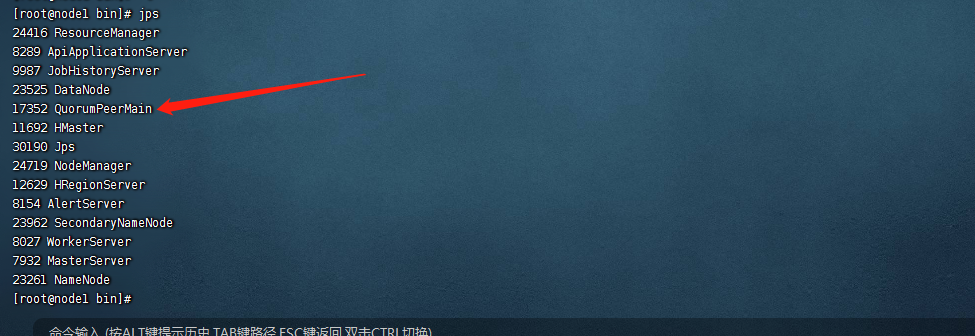
此时我们的zookeeper就启动起来了,然后使用jps命令,可以看到zookeeper的进程
备注:
1、这里由于我们只是演示环境,因此这里我们没有对配置进行过修改,如果在实际的环境中,这里的配置文件里面的内容是需要修改的。
三、在官网下载hbase
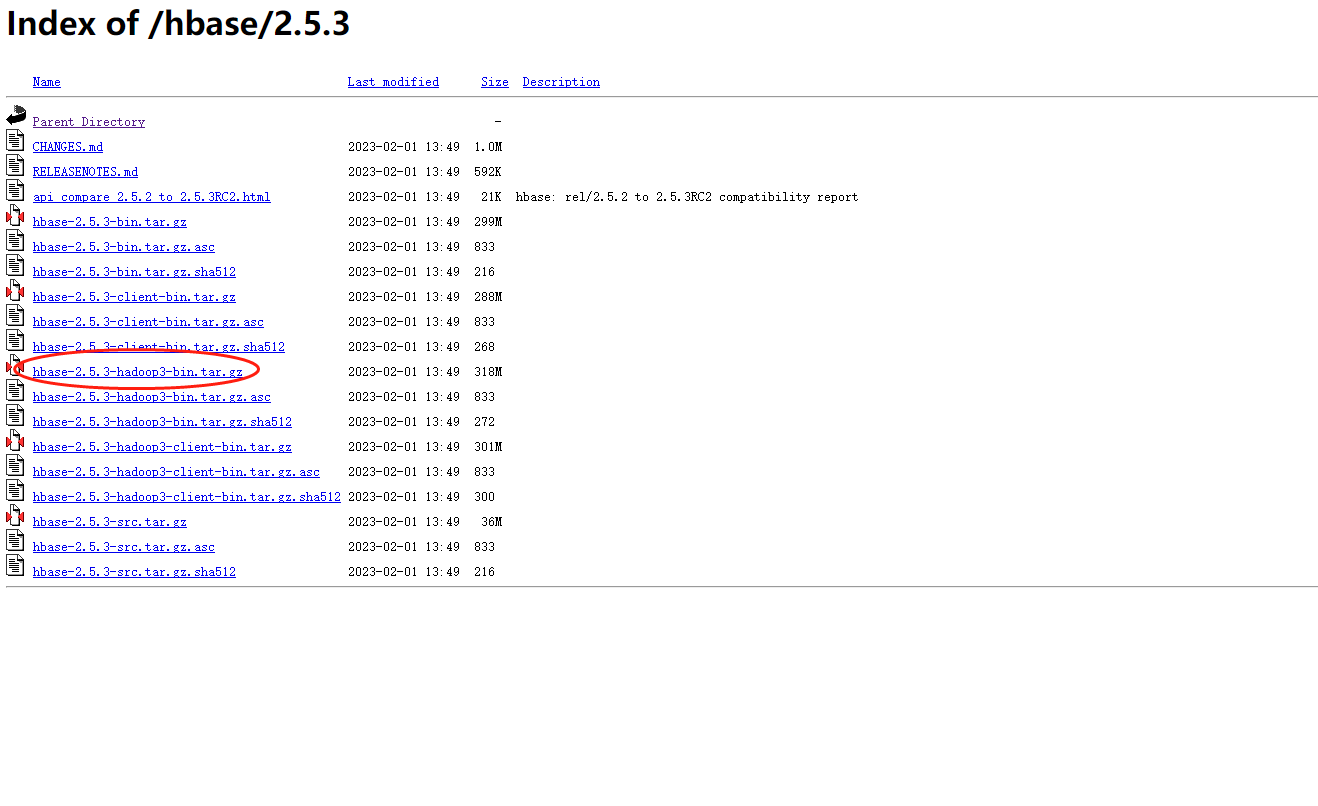
首先我们去hbase的官网下载一个hbase版本,hbase官网下载地址是:hbase官网下载。这里我们选择最新版本的hbase-2.5.3-hadoop3-bin.tar.gz即可。
备注:
1、这里下载的hbase版本需要和hadoop版本保持一致。
下载完成之后,我们把hbase上传到服务器器上,如下图:

四、配置环境变量
这里我们修改下/etc/profile文件,把hbase的环境变量添加进去
export JAVA_HOME=/usr/local/jdk1.8.0_271
export HADOOP_HOME=/home/pubserver/hadoop-3.3.5
export HBASE_HOME=/home/pubserver/hbase-2.5.3
export PATH=$PATH:$JAVA_HOME/bin:$HADOOP_HOME/bin:${HBASE_HOME}/bin
然后执行下profile文件
source /etc/profile
五、修改hbase配置
这里我们就开始hbase的配置了,首先我们进入到hbase的配置文件目录里面
cd ${HBASE_HOME}/conf首先我们修改hbase-env.sh文件,修改项如下:
#添加javahome
export JAVA_HOME=/usr/local/jdk1.8.0_271

#配置hbase不使用自带的zookeeper
export HBASE_MANAGES_ZK=false

#配置不查找hadoop的lib
export HBASE_DISABLE_HADOOP_CLASSPATH_LOOKUP="true"
再修改hbase-site.xml文件,完整的配置内容如下:
<?xml version="1.0"?>
<?xml-stylesheet type="text/xsl" href="configuration.xsl"?>
<!--
/*
 * Licensed to the Apache Software Foundation (ASF) under one
 * or more contributor license agreements.  See the NOTICE file
 * distributed with this work for additional information
 * regarding copyright ownership.  The ASF licenses this file
 * to you under the Apache License, Version 2.0 (the
 * "License"); you may not use this file except in compliance
 * with the License.  You may obtain a copy of the License at
 *
 *     http://www.apache.org/licenses/LICENSE-2.0
 *
 * Unless required by applicable law or agreed to in writing, software
 * distributed under the License is distributed on an "AS IS" BASIS,
 * WITHOUT WARRANTIES OR CONDITIONS OF ANY KIND, either express or implied.
 * See the License for the specific language governing permissions and
 * limitations under the License.
 */
-->
<configuration>
    <!--
    The following properties are set for running HBase as a single process on a
    developer workstation. With this configuration, HBase is running in
    "stand-alone" mode and without a distributed file system. In this mode, and
    without further configuration, HBase and ZooKeeper data are stored on the
    local filesystem, in a path under the value configured for `hbase.tmp.dir`.
    This value is overridden from its default value of `/tmp` because many
    systems clean `/tmp` on a regular basis. Instead, it points to a path within
    this HBase installation directory.

    Running against the `LocalFileSystem`, as opposed to a distributed
    filesystem, runs the risk of data integrity issues and data loss. Normally
    HBase will refuse to run in such an environment. Setting
    `hbase.unsafe.stream.capability.enforce` to `false` overrides this behavior,
    permitting operation. This configuration is for the developer workstation
    only and __should not be used in production!__

    See also https://hbase.apache.org/book.html#standalone_dist
  -->
    <property>
        <name>hbase.cluster.distributed</name>
        <value>false</value>
    </property>
    <property>
        <name>hbase.tmp.dir</name>
        <value>/home/pubserver/hbase-2.5.3/tmpdata</value>
    </property>
    <property>
        <name>hbase.unsafe.stream.capability.enforce</name>
        <value>false</value>
    </property>
    <property>
        <name>hbase.rootdir</name>
        <value>hdfs://192.168.31.218:8020/hbase</value>
    </property>
    <property>
        <name>hbase.cluster.distributed</name>
        <value>true</value>
    </property>
    <property>
        <name>hbase.unsafe.stream.capability.enforce</name>
        <value>false</value>
    </property>
    <property>
        <!-- 指定 zookeeper 的地址-->
        <name>hbase.zookeeper.quorum</name>
        <value>192.168.31.218:2181</value>
    </property>
</configuration>
然后再修改regionservers文件,把本机的机器名添加进去
node1
六、启动hbase
上面我们已经配置完毕了,这里我们只需要启动hbase即可。
cd ${hbase_home}/bin

./start-hbase.sh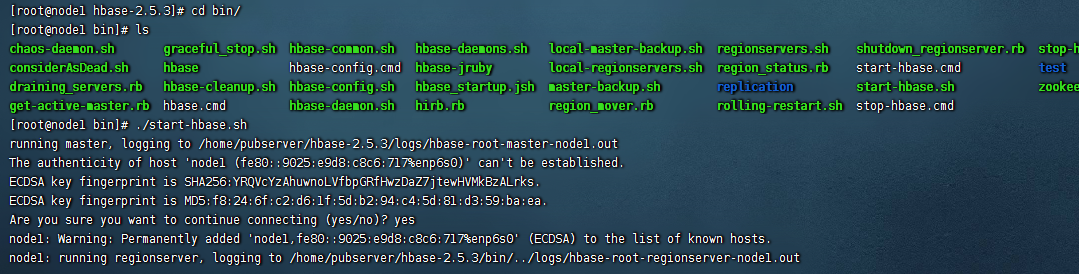
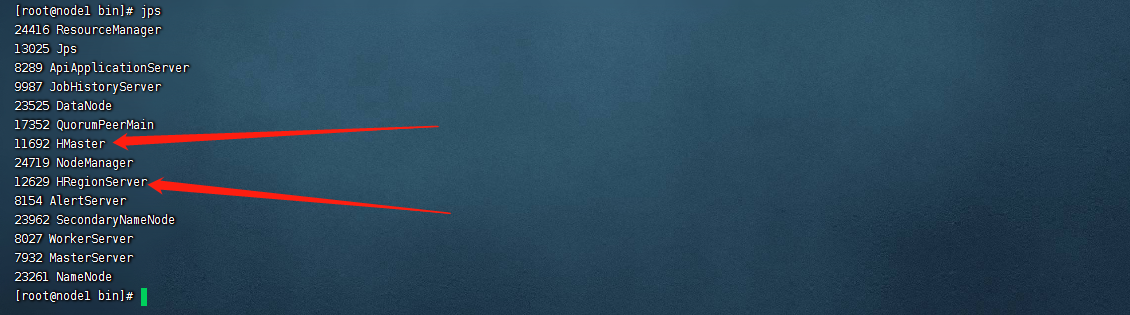
启动完成之后,我们使用jps命令,可以看到两个进程,分别是:
HMaster
HRegionServer
七、访问hbase web验证下
这里我们访问下hbase的web地址,地址是:http://192.168.31.218:16010/
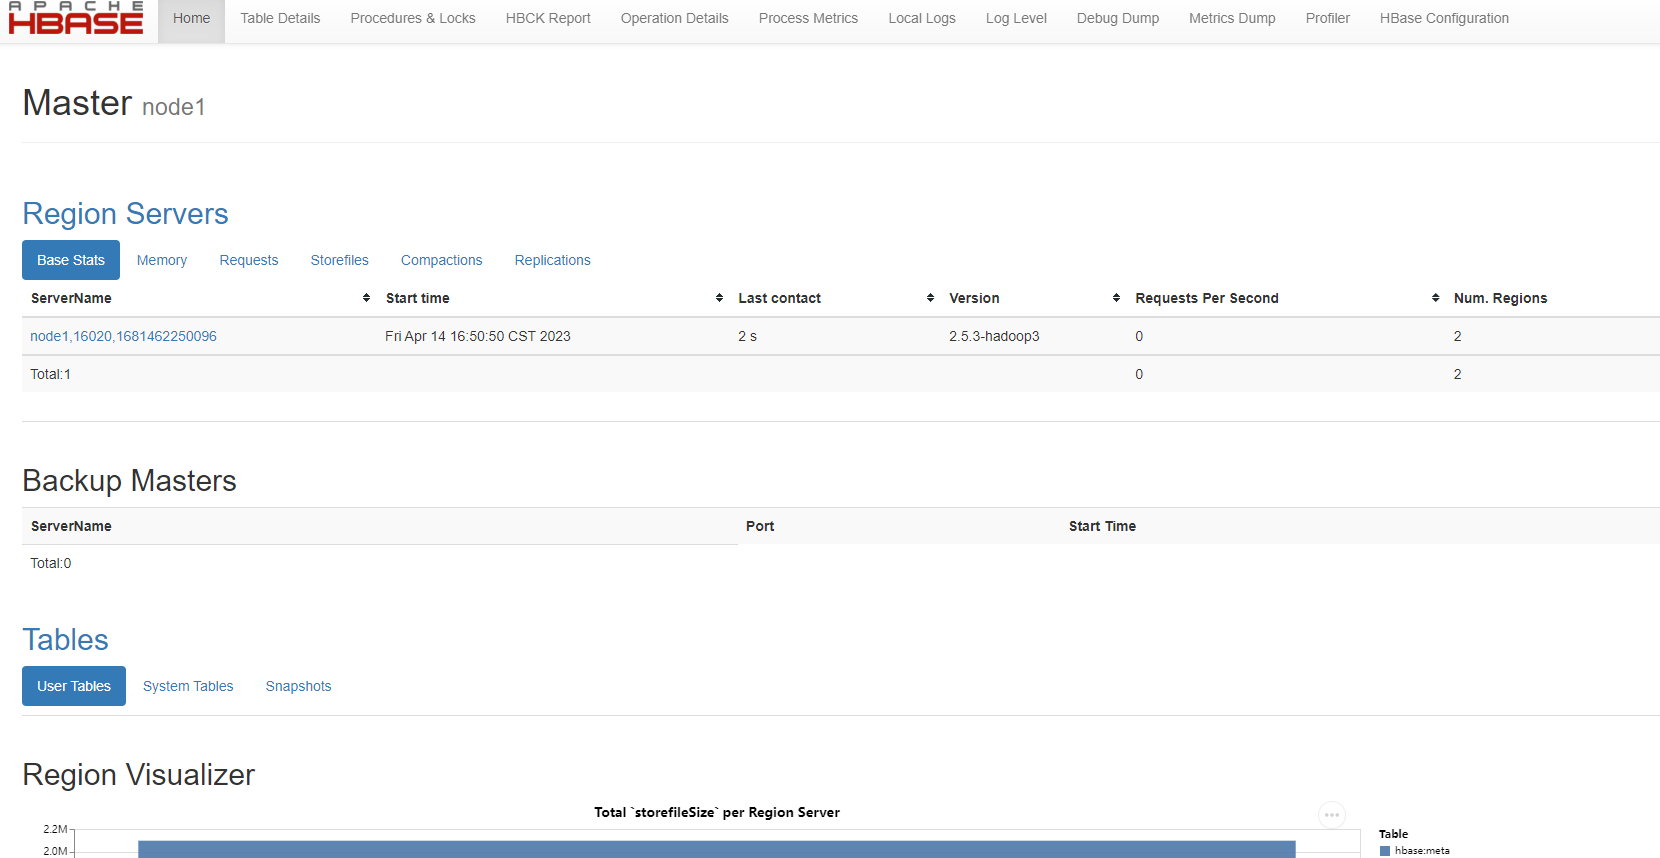
只要能出现这个界面,就说明hbase搭建是成功的。
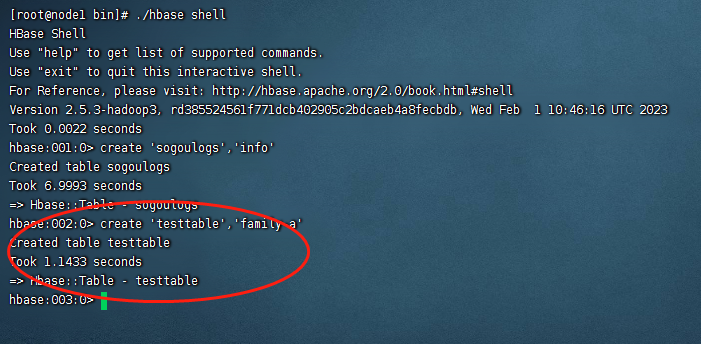
八、使用hbase命令创建表验证hbase环境
这里我们再使用hbase的命令来创建一张表,验证下hbase的环境情况。
#进入到hbase的bin目录下

cd /home/pubserver/hbase-2.5.3/bin

#执行hbase shell命令
./hbase shell

#创建一张表
create 'testtable','family-a'
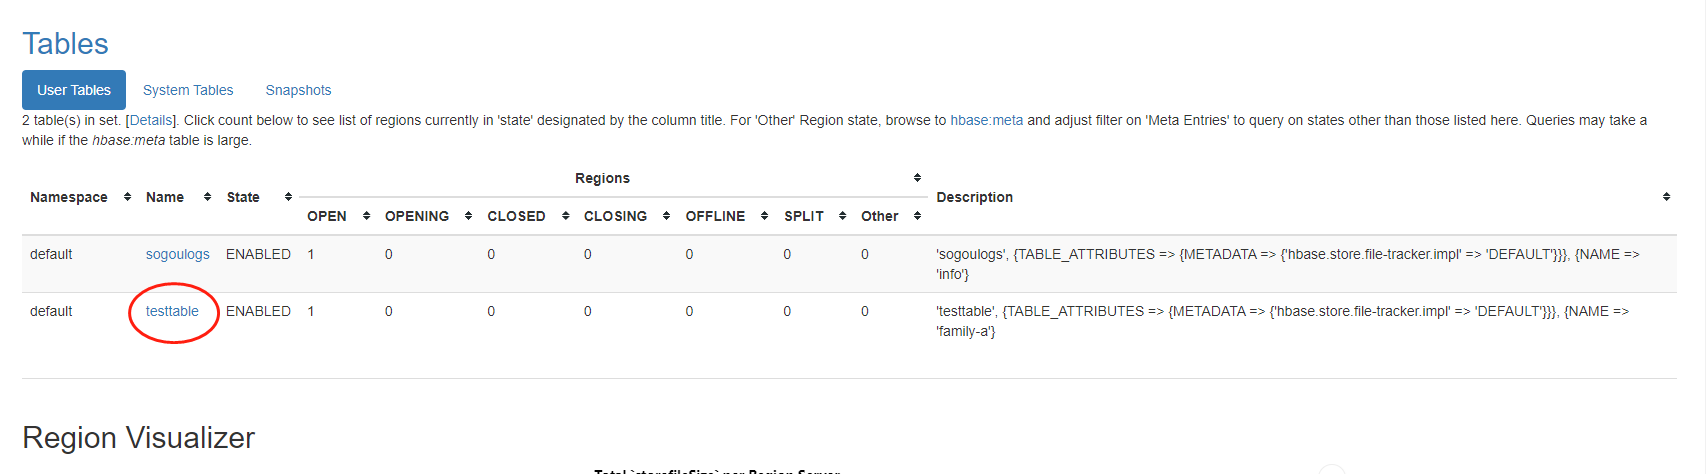
说明hbase命令执行时没有问题的,此时我们可以在web上看到刚才创建的表
以上就是我们hbase单机版的安装教程。
备注:
1、在hbase中,可以同时有两个master,一个是主master,一个是备用的master,如果需要启动备用的master的话,则需要在${hbase_home}/conf目录下创建一个backup-masters空白文件,然后把对应的node名称写进入就可以了,例如:
#创建文件
touch backup-masters
#编辑文件
vim backup-masters
#把node名称添加进去
node2
保存文件之后,再重启hbase即可,到时候对应的node上也会启动一个master,然后web上的backup-master模块也会显示出来结果


还没有评论,来说两句吧...