
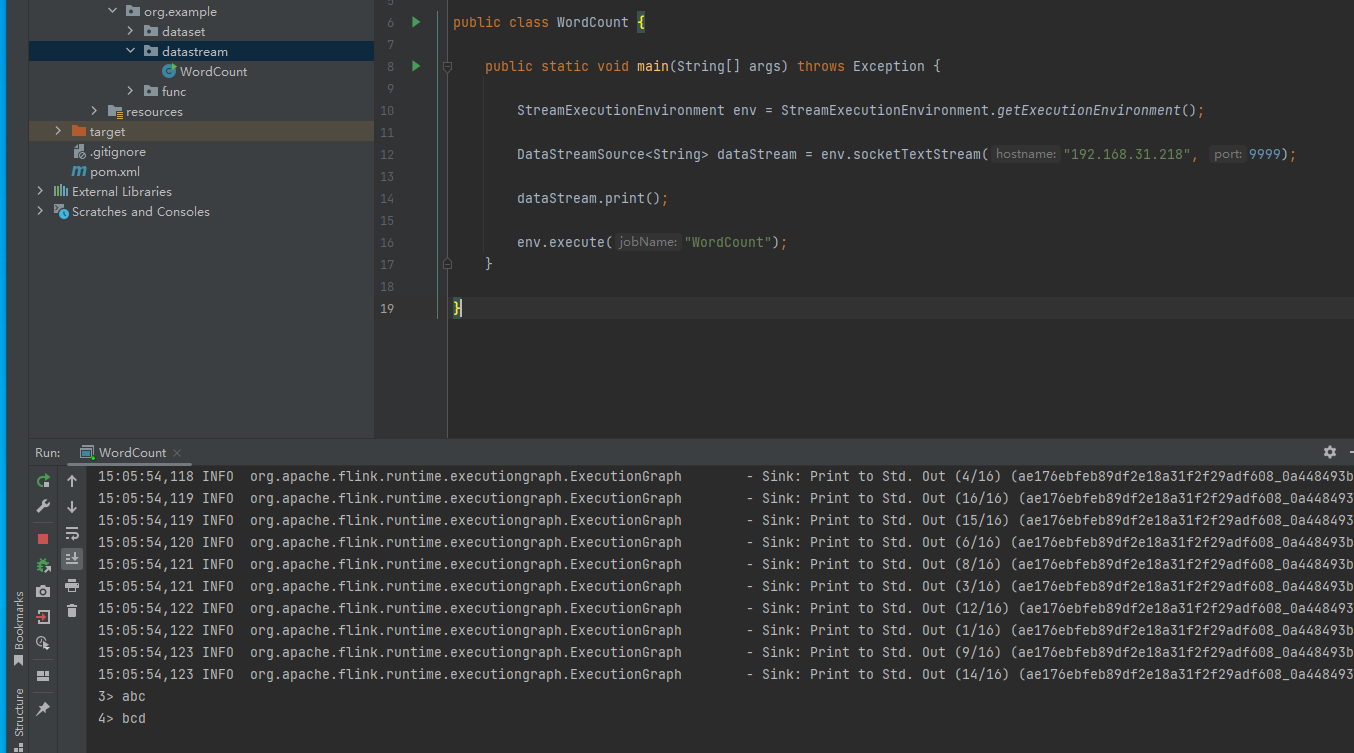
前面的文章《Flink应用开发系列(二十三)DataStream概念介绍》我们对DataStream做了一个基础的介绍,对于整个开发来说,我们首先还是介绍一个wordcount,来看看整个flink DataStream API开发出来的job是一个什么样子。下面我们给一个简单的关于DataStream API的wordcount示例代码。完整代码如下:
package org.example.datastream;

import org.apache.flink.streaming.api.datastream.DataStreamSource;
import org.apache.flink.streaming.api.environment.StreamExecutionEnvironment;

public class WordCount {

    public static void main(String[] args) throws Exception {

        StreamExecutionEnvironment env = StreamExecutionEnvironment.getExecutionEnvironment();

        DataStreamSource<String> dataStream = env.socketTextStream("192.168.31.218", 9999);

        dataStream.print();

        env.execute("WordCount");
    }

}
这个示例代码在网上也比较常见,主要做的事情是:
1、创建一个flink datastream的环境。
2、监听192.168.31.218这台服务器的9999端口。
3、把获取的内容打印出来。
4、执行整个Flink Datastream job。
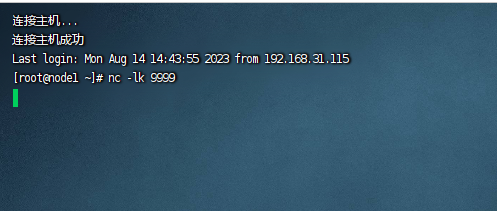
下面我们进入到218这台服务器,执行下如下的命令:
nc -lk 9999
执行完毕之后,我们可以看到如下图所示:
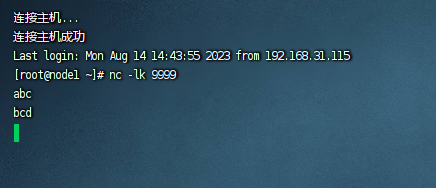
此时我们可以这里输入任何内容,例如:
然后我们启动这个wordcount程序,就可以看到输入的内容就会被打印出来:
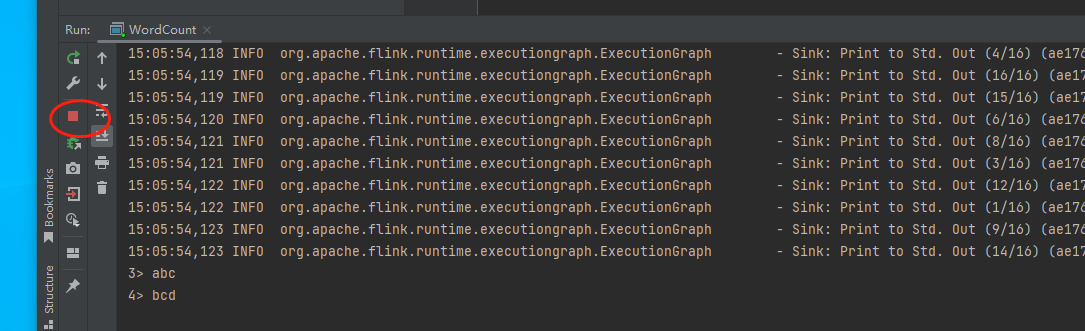
以上的案例我们就可以看到整个datastream的job运行起来的案例,同时也可以看到这是一个常驻的进程,不会断掉:
备注:
1、这里的话需要先启动nc命令,把端口打开,因为这里是监听socket,如果socket服务端没有打开,那么运行这个wordcount就不会成功,因为连接不上对应的端口。
2、如果服务器没有nc命令的话,可以使用如下命令进行安装:yum -y install nmap-ncat
3、在前面的文章我们介绍必须的三要素:sources,etl,sink,这里怎么没有看到etl和sink呢?其实etl是一个数据处理的过程,我们在这里没有对数据进行处理,也相当于已经处理了数据,所以etl在这个案例里面就算是“隐形的”。sink呢,其实所有的数据不一定都要写到对外的存储上,打印输出也是一种sink。
最后按照惯例,附上本案例的源码,登录后即可下载。


还没有评论,来说两句吧...