
在前面我们单独演示了一个paimon的案例,然后我们会发现去查询数据的时候继续使用flink,如果paimon中的数据需要对外提供服务,那此时我们使用flink去查就不合适了,因此在实际的场景中,这里的paimon和hive搭配使用的频率非常多。本文我们就来介绍下paimon搭配hive的使用教程。
前置准备
这里的前置准备工作的话,我们还是需要准备如下信息:
hadoop
flink
hive
对应的版本是:
| 序号 | 组件 | 版本 |
| 1 | hadoop | 3.3.5 |
| 2 | hive | 3.1.3 |
| 3 | flink | 1.17.0 |
备注:
1、这里我们暂时不用dinky来演示,在实际开发中可以用dinky,主要是由于paimon的数据无法兼容显示,所以这里我们在flink的sql-client客户端里面进行演示。如果要用到dinky的话,记得添加相关的依赖包。
下载paimon-hive-connector依赖包
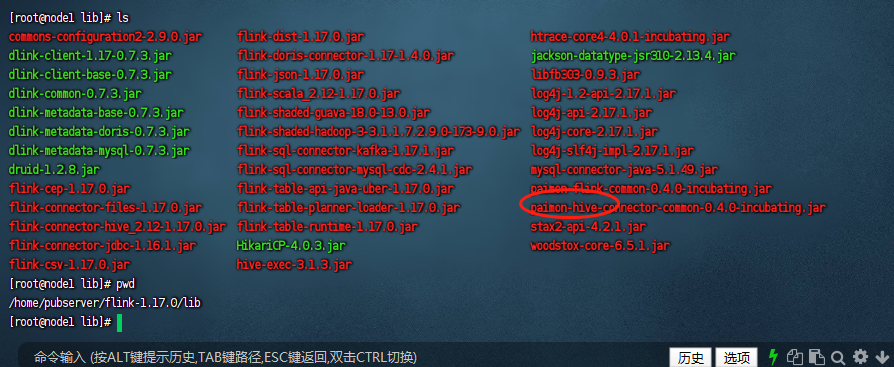
既然要搭配hive来使用,这里我们就需要把paimon-hive的依赖包下载下来,下载地址是:paimon-hive官网下载。下载完毕之后我们把依赖包放到${flink_home}/lib目录下:
下载libfb303依赖包
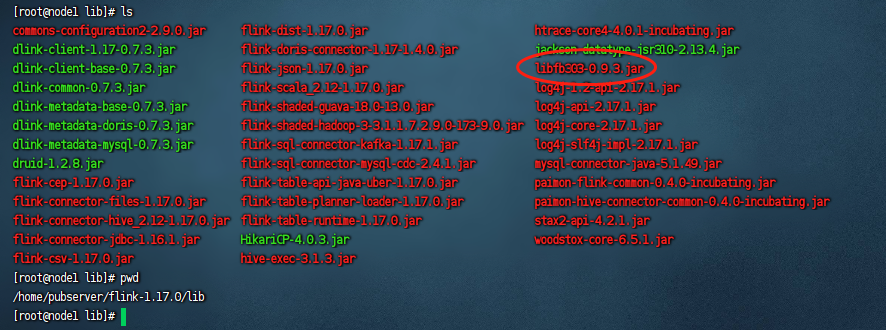
熟悉hive的同学我们知道一般都是通过thrift协议与hive的metastore给打通的,所以这里我们我们添加一个thrift的协议,下载的依赖包是libfb303,这个依赖包的下载地址是:libfb303依赖包下载,下载完毕之后我们同样的把他放到${flink_home}/lib目录下:
重启flink集群
接着我们重启下这里的flink集群,让他加载刚才我们添加的依赖包:
进入flink-sql执行环境
这里我们使用flink-sql执行环境进行演示,首先进入到flink的bin目录下,执行:
./sql-client.sh
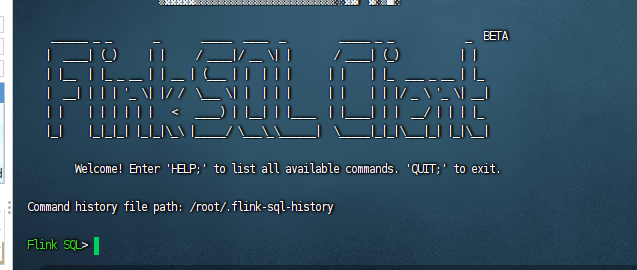
编写作业
这里我们编写作业就比较简单了,主要的作业代码如下:
--创建hive的catalog
CREATE CATALOG hive_catalog WITH (
    'type' = 'paimon',
    'metastore' = 'hive',
    'uri' = 'thrift://192.168.31.218:9083',
    'warehouse' = 'hdfs://192.168.31.218:8020/tmp/hive/warehouse'
);

--使用刚才创建的hive的catalog
USE CATALOG hive_catalog;

--创建一张sink表
CREATE TABLE if not EXISTS test_table (
  id int,
  name string
);

--向sink表插入数据
INSERT INTO test_table VALUES (1, 'Table'), (2, 'Store');

--查询结果
SELECT * FROM test_table;
执行后如下图:

然后我们就可以查询这个test_table里面的数据了:
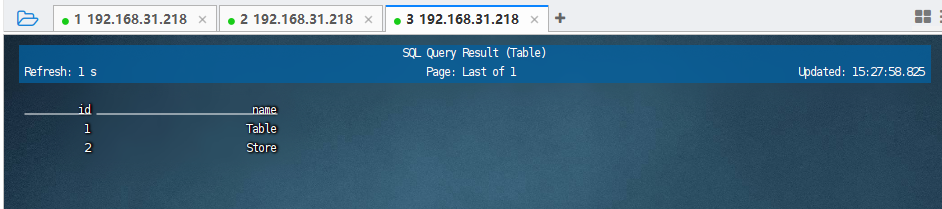
说明成功的运行了paimon+hive。
查看hive
接着我们去hive环境中验证下,首先进入到hive_home的bin目录下执行
./hive

在hive中没有catalog的概念,因此我们直接查看对应的表信息,首先查看下有哪些表:
show tables;
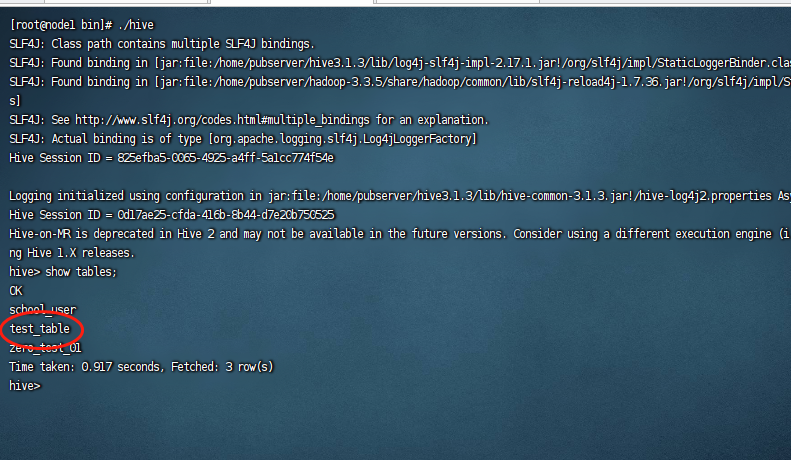
我们在hive中能看到这个test_table这张表,我们使用hive的语句查询下:
select * from test_table;
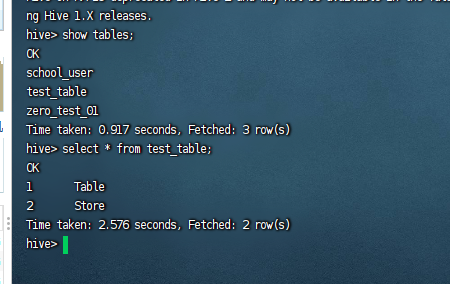
可以看到我们把paimon中的数据查询出来了。
备注:
1、这里paimon+hive的解决方案是我们在工作场景里面使用比较多的。
2、在paimon中创建catalog的时候,uri的公示是:'uri' = 'thrift://<hive-metastore-host-name>:<port>',这里需要去看看metastore的端口是多少,这个端口是metastore的。
3、使用flink把数据处理完毕之后,我们可以在hive中直接查询数据。
4、在hive中没有catalog的概念,只有db.table的概念。
5、如果我们在paimon中把对应的表删除了,此时可能hive中还能看到这个表的表名,此时继续在flink sql中创建paimon对应的表会创建失败。


还没有评论,来说两句吧...