
Flume在现在的大数据采集方面使用范围非常的广。所以这个工具也得学会使用,这篇文章介绍下把日志采集到hdfs,然后供数仓进行数据分析。下面直接来演示一下。
一、准备一个hadoop环境
如果想要把日志文件的数据采集到hdfs上,那么首先使需要有一个hadoop环境的。所以我们需要有一个hadoop环境,这个环境可以使单机的,也可以是集群的,根据实际情况使用即可。如果只是想测试demo,那么可以根据这篇文章《使用docker简单的安装一个hadoop单机演示环境》搭建一个简易的环境使用。
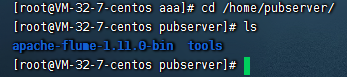
二、准备一个apache flume的安装包
这个在官网下载即可,可以下载最新版即可。这里我们已经下载好了。
三、把hadoop的jar包拷贝到flume里面
既然要把数据采集到hdfs上,那么我们在这里的话就需要导入和当前hadoop环境一样的下列包:
commons-configuration-1.6.jar
hadoop-auth-2.7.2.jar
hadoop-common-2.7.2.jar
hadoop-hdfs-2.7.2.jar
commons-io-2.4.jar
htrace-core-3.1.0-incubating.jar
也就是这些包
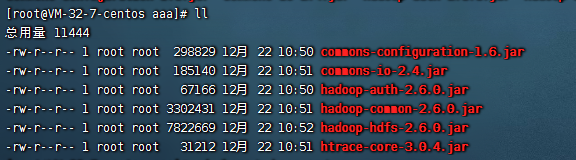
这些jar包的位置分布在${hadoop_home}/share目录下,把这些jar包统一拷贝到${flume_home}/libs包下面即可。
四、创建file-to-hdfs.conf配置文件
把如下的内容粘贴进去,对应的hdfs信息修改为自己的hdfs信息即可
# Name the components on this agent
a2.sources = r2
a2.sinks = k2
a2.channels = c2
# Describe/configure the source
a2.sources.r2.type = exec
a2.sources.r2.command = tail -F /mnt/hive.log
a2.sources.r2.shell = /bin/bash -c
# Describe the sink
a2.sinks.k2.type = hdfs
a2.sinks.k2.hdfs.path = hdfs://172.22.32.7:59000/flume/%Y%m%d/%H
#上传文件的前缀
a2.sinks.k2.hdfs.filePrefix = logs-
#是否按照时间滚动文件夹
a2.sinks.k2.hdfs.round = true
#多少时间单位创建一个新的文件夹
a2.sinks.k2.hdfs.roundValue = 1
#重新定义时间单位
a2.sinks.k2.hdfs.roundUnit = hour
#是否使用本地时间戳
a2.sinks.k2.hdfs.useLocalTimeStamp = true
#积攒多少个Event才flush到HDFS一次
a2.sinks.k2.hdfs.batchSize = 1000
#设置文件类型,可支持压缩
a2.sinks.k2.hdfs.fileType = DataStream
#多久生成一个新的文件
a2.sinks.k2.hdfs.rollInterval = 600
#设置每个文件的滚动大小
a2.sinks.k2.hdfs.rollSize = 134217700
#文件的滚动与Event数量无关
a2.sinks.k2.hdfs.rollCount = 0
#最小冗余数
a2.sinks.k2.hdfs.minBlockReplicas = 1
# Use a channel which buffers events in memory
a2.channels.c2.type = memory
a2.channels.c2.capacity = 1000
a2.channels.c2.transactionCapacity = 1000
# Bind the source and sink to the channel
a2.sources.r2.channels = c2
a2.sinks.k2.channel = c2
五、把flume启动起来
启动命令是:
bin/flume-ng agent --conf conf/ --name a2 --conf-file conf/file-to-hdfs.conf
启动后保证他不报错即可:

当然这种方式是前台启动,如果我们想要后台启动常驻进程的话,可以使用如下的命令:
nohup bin/flume-ng agent --conf conf/ --name a2 --conf-file conf/file-to-hdfs.conf &
此时我们可以看到在${flume_home}/目录下会有一个flume.log的日志文件,我们查看下是否报错:

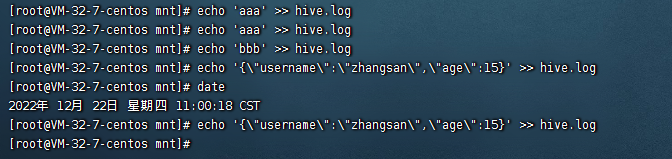
六、向监控的文件写入记录
七、验证hdfs的日志记录
在前面已经写入了日志信息,此时按照我们的设想应该在hdfs上会有相关的日志记录,我们去hdfs上看看效果:
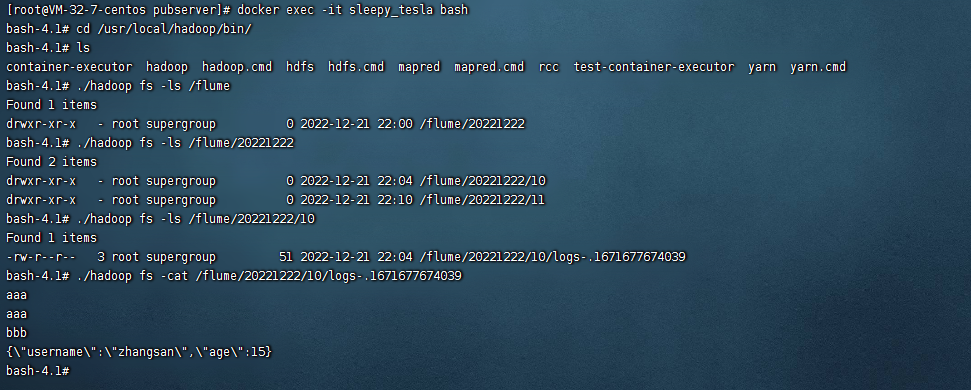
日志被采集到了hdfs上了。


还没有评论,来说两句吧...