
上一篇文章《Hive安装配置篇(一)Hive3.1.3单机版安装教程》我们介绍了hive的基本安装,在使用hive的时候,我们经常会使用java的jdbc进行连接,因此这篇文章我们介绍下为hive的jdbc连接配置用户名和密码。下面直接开始。
一、创建一个新的maven项目,并且引入如下的依赖
<dependencies>
		<dependency>
			<groupId>org.apache.hive</groupId>
			<artifactId>hive-jdbc</artifactId>
			<version>3.1.3</version>
		</dependency>
		<dependency>
			<groupId>org.projectlombok</groupId>
			<artifactId>lombok</artifactId>
			<version>1.18.8</version>
		</dependency>
	</dependencies>

	<build>
		<plugins>
            <plugin>
                <groupId>org.springframework.boot</groupId>
                <artifactId>spring-boot-maven-plugin</artifactId>
            </plugin>
            <plugin>
                <groupId>org.apache.maven.plugins</groupId>
                <artifactId>maven-compiler-plugin</artifactId>
                <configuration>
                    <source>6</source>
                    <target>6</target>
                </configuration>
            </plugin>
        </plugins>
	</build>
二、编写一个CustomPasswdAuthenticator的解密类
package com.hive.auth;

import javax.security.sasl.AuthenticationException;

import org.apache.hadoop.conf.Configuration;
import org.apache.hadoop.hive.conf.HiveConf;
import org.apache.hive.service.auth.PasswdAuthenticationProvider;

import lombok.extern.slf4j.Slf4j;

/**
 * 用户hive的密码解密
 * @author Administrator
 *
 */
@Slf4j
public class CustomPasswdAuthenticator implements PasswdAuthenticationProvider{

private static final String HIVE_JDBC_PASSWD_AUTH_PREFIX="hive.jdbc_passwd.auth.%s";

	private Configuration conf=null;

	@Override
	public void Authenticate(String userName, String passwd)
		      throws AuthenticationException {
		    log.info("user: "+userName+" try login.");
		    String passwdConf = getConf().get(String.format(HIVE_JDBC_PASSWD_AUTH_PREFIX, userName));
		    if(passwdConf==null){
		      String message = "user's ACL configration is not found. user:"+userName;
		      log.info(message);
		      throw new AuthenticationException(message);
		    }
		    if(!passwd.equals(passwdConf)){
		      String message = "user name and password is mismatch. user:"+userName;
		      throw new AuthenticationException(message);
		    }
		  }

		  public Configuration getConf() {
		    if(conf==null){
		      this.conf=new Configuration(new HiveConf());
		    }
		    return conf;
		  }

		  public void setConf(Configuration conf) {
		    this.conf=conf;
		  }

}
三、把这个项目打包,然后把jar放到hive的lib目录下
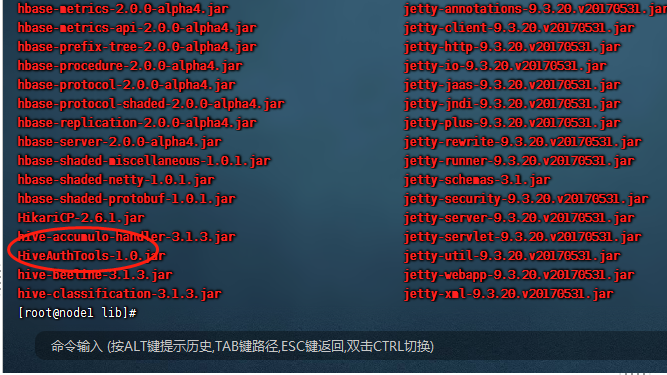
在hive中,如果需要配置用户名和密码的jdbc连接,那么需要自定义一个解密工具类,上面我们编写的方法就是用于做自定义解密的。
四、修改hive-site.xml文件
工具类有了,我们就需要在hive中直接配置用户名和密码及解密的内容,修改项如下:
#配置上面的工具类
<property>
    <name>hive.server2.custom.authentication.class</name>
    <value>com.hive.auth.CustomPasswdAuthenticator</value>
    <description>
      Custom authentication class. Used when property
      'hive.server2.authentication' is set to 'CUSTOM'. Provided class
      must be a proper implementation of the interface
      org.apache.hive.service.auth.PasswdAuthenticationProvider. HiveServer2
      will call its Authenticate(user, passed) method to authenticate requests.
      The implementation may optionally implement Hadoop's
      org.apache.hadoop.conf.Configurable class to grab Hive's Configuration object.
    </description>
  </property>

  #修改为客户端解密
  <property>
    <name>hive.server2.authentication</name>
    <value>CUSTOM</value>
    <description>
      Expects one of [nosasl, none, ldap, kerberos, pam, custom].
      Client authentication types.
        NONE: no authentication check
        LDAP: LDAP/AD based authentication
        KERBEROS: Kerberos/GSSAPI authentication
        CUSTOM: Custom authentication provider
                (Use with property hive.server2.custom.authentication.class)
        PAM: Pluggable authentication module
        NOSASL:  Raw transport
    </description>
  </property>
  #自定jdbc连接的用户名和密码,用户名为key的最后一个
  <property>
 <name>hive.jdbc_passwd.auth.dolphinscheduler</name><!--用户名为最后一个:dolphinscheduler-->
 <value>dolphinscheduler</value><!--密码-->
</property>
五、修改hadoop的core-site.xml文件
这里hive是需要连接到hadoop的,因此这里配置了jdbc之后,我们还需要在hadoop的core-site.xml文件中添加如下的配置:
<property>
  <name>hadoop.proxyuser.hadoop.hosts</name>
  <value>*</value>
</property>
<property>
  <name>hadoop.proxyuser.hadoop.groups</name>
  <value>*</value>
</property>
第五步是非常重要的一步,千万不要忘了。
第五步是非常重要的一步,千万不要忘了。
第五步是非常重要的一步,千万不要忘了。
六、重启hadoop的hive
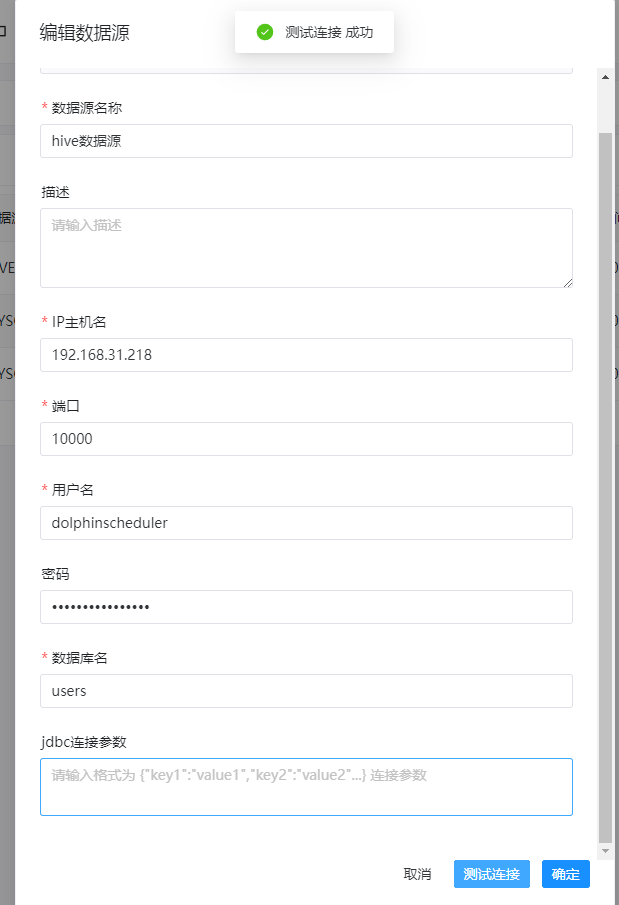
上面我们全部配置完了,然后我们重新启动hadoop集群,和hive的metastore及hive2server。启动之后,我们使用hive的jdbc连接就必须要使用用户名和密码了。
最后按照管理,附上本案例的工具类源码及打包好的jar包。登录后即可下载。


还没有评论,来说两句吧...