
接上篇《微服务实战spring cloud alibaba(十三)使用docker部署我们的所有服务》。我们之前部署了整个的微服务。在实际工作中,我们会有打印日志的需求,例如我们需要看报错,看请求和返回。在这里我们由于是微服务,不太好在每一个项目里面配置webaspectlog的切面,所以在生产环境中,我们一般会要求在网关层,也就是spring cloud gateway里面打印每一个请求和返回的参数信息,这样方便我们查询一些数据的问题。
SpringCloudGateway默认不打印请求和响应body,如果要在spring cloud gateway里面打印请求和返回参数,我们就需要用到的类就是一个ChannelDuplexHandler和HttpClientCustomizer。因为在gateway里面其实也是做http转发,所以拦截的话肯定是在http层面拦截,所以我们需要使用到上诉两个类。这两个类是干什么的呢?
ChannelDuplexHandler
ChannelDuplexHandler是netty里面的一个类,他具有双向读取数据的特性,大家可以看看源码
HttpClientCustomizer
理解成自定义客户端即可。
下面我们来看下如何实现:
一、创建一个ServiceInterfaceHandler类,实现方法如下:
package org.gateway.service.config;

import io.netty.buffer.ByteBuf;
import io.netty.channel.ChannelDuplexHandler;
import io.netty.channel.ChannelHandlerContext;
import io.netty.channel.ChannelPromise;
import io.netty.util.AttributeKey;
import lombok.extern.slf4j.Slf4j;
import org.slf4j.MDC;

import java.nio.charset.StandardCharsets;
import java.util.Arrays;
import java.util.UUID;

@Slf4j
public class ServiceInterfaceHandler extends ChannelDuplexHandler {

	private static final AttributeKey<String> TRACE_ID = AttributeKey.valueOf("traceId");

	@Override
	public void write(ChannelHandlerContext ctx, Object msg, ChannelPromise promise) throws Exception {
		if (msg instanceof ByteBuf) {
			// 定义uuid,用于关联请求和响应内容
			final String uuid = UUID.randomUUID().toString();
			if (!ctx.channel().hasAttr(TRACE_ID) || ctx.channel().attr(TRACE_ID).get().equals("")) {
				ctx.channel().attr(TRACE_ID).set(uuid);
			}
			final ByteBuf buf = (ByteBuf) msg;
			int length = buf.readableBytes();
			// 设置MDC,打印日志时增加trace
			MDC.put("trace", ctx.channel().attr(TRACE_ID).get());
			if (length > 0) {
				final String content = buf.toString(StandardCharsets.UTF_8);
				final StringBuilder sb = new StringBuilder();
				Arrays.stream(content.split("\r\n|\n")).forEach(str -> sb.append(str).append("\n"));
				log.info("request meta: {}", sb.toString());
			}
		}
		super.write(ctx, msg, promise);
	}

	@Override
	public void channelRead(ChannelHandlerContext ctx, Object msg) throws Exception {
		if (msg instanceof ByteBuf) {
			if (ctx.channel().hasAttr(TRACE_ID)) {
				ctx.channel().attr(TRACE_ID).set("");
			}
			final ByteBuf buf = (ByteBuf) msg;
			int length = buf.readableBytes();
			if (length > 0) {
				String content = buf.toString(StandardCharsets.UTF_8);
				final StringBuilder sb = new StringBuilder(length);
				Arrays.stream(content.split("\r\n|\n")).forEach(str -> sb.append(str).append("\n"));
				log.info("response meta: {}", sb.toString());
			}
			// 打印完日志后移除
			MDC.remove("trace");
		}
		super.channelRead(ctx, msg);
	}
}
上面可以看到是双向的读取,但是我们在读取的时候,可能由于并发的问题造成错乱,因此这里我们定义一个trace_id来匹配上行请求和下行响应。
二、创建一个ServiceInterfaceHttpClientCustomizer类,具体实现如下:
package org.gateway.service.config;

import org.springframework.cloud.gateway.config.HttpClientCustomizer;
import org.springframework.stereotype.Component;

import reactor.netty.channel.BootstrapHandlers;
import reactor.netty.http.client.HttpClient;

@Component
public class ServiceInterfaceHttpClientCustomizer implements HttpClientCustomizer {
	@Override
	public HttpClient customize(HttpClient client) {
		return client.tcpConfiguration(tcpClient -> tcpClient.bootstrap(b -> BootstrapHandlers.updateConfiguration(b,
				"log",
				((connectionObserver, channel) -> channel.pipeline().addFirst("log", new ServiceInterfaceHandler())))));
	}
}
三、测试
在这里我们访问之前的登录接口,登录接口是通过gateway转发到user-service的,所以我们的访问地址是:http://127.0.0.1:9000/user/login
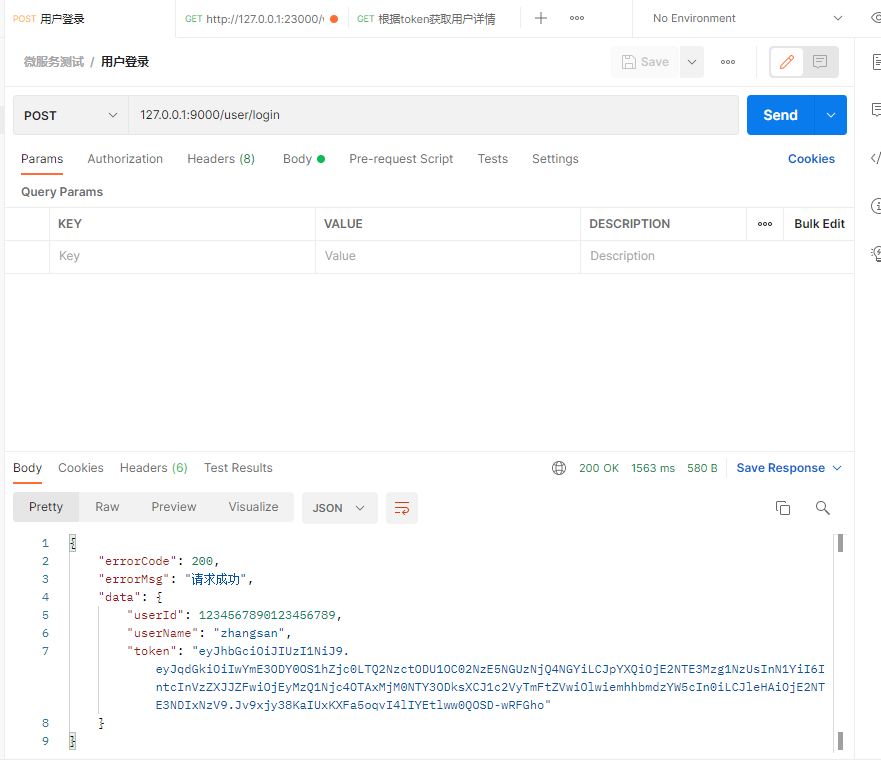
访问完了后,我们可以在控制台看到输出的日志
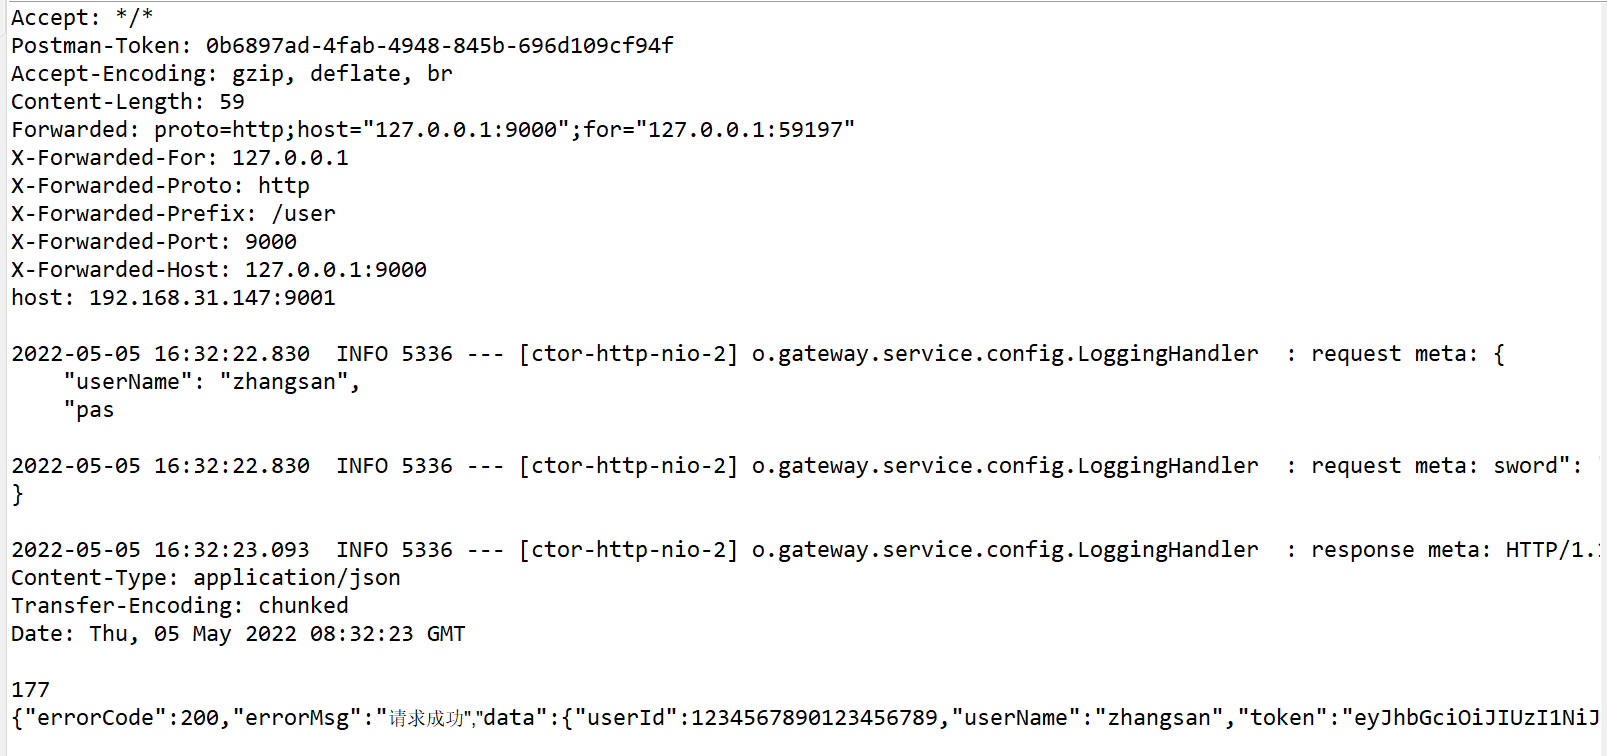
完整的输出是:
2022-05-05 16:32:22.829  INFO 5336 --- [ctor-http-nio-2] o.gateway.service.config.LoggingHandler  : request meta: POST /login HTTP/1.1
Content-Type: application/json
User-Agent: PostmanRuntime/7.29.0
Accept: */*
Postman-Token: 0b6897ad-4fab-4948-845b-696d109cf94f
Accept-Encoding: gzip, deflate, br
Content-Length: 59
Forwarded: proto=http;host="127.0.0.1:9000";for="127.0.0.1:59197"
X-Forwarded-For: 127.0.0.1
X-Forwarded-Proto: http
X-Forwarded-Prefix: /user
X-Forwarded-Port: 9000
X-Forwarded-Host: 127.0.0.1:9000
host: 192.168.31.147:9001

2022-05-05 16:32:22.830  INFO 5336 --- [ctor-http-nio-2] o.gateway.service.config.LoggingHandler  : request meta: {
    "userName": "zhangsan",
    "password": "123456"
}

2022-05-05 16:32:23.093  INFO 5336 --- [ctor-http-nio-2] o.gateway.service.config.LoggingHandler  : response meta: HTTP/1.1 200
Content-Type: application/json
Transfer-Encoding: chunked
Date: Thu, 05 May 2022 08:32:23 GMT

{"errorCode":200,"errorMsg":"请求成功","data":{"userId":1234567890123456789,"userName":"zhangsan","token":"eyJhbGciOiJIUzI1NiJ9.eyJqdGkiOiIxMTQ0YmM3YS0xMWI1LTQ5YTQtOTY2MC1lMTBkOTkyNTZjNGIiLCJpYXQiOjE2NTE3Mzk1NDMsInN1YiI6IntcInVzZXJJZFwiOjEyMzQ1Njc4OTAxMjM0NTY3ODksXCJ1c2VyTmFtZVwiOlwiemhhbmdzYW5cIn0iLCJleHAiOjE2NTE3NDMxNDN9.D3R9kPsX4hVKbX4I3K0QOGhYvmTK-U2l5ufEhVKv7PU"}}

2022-05-05 16:32:23.095  INFO 5336 --- [ctor-http-nio-2] o.gateway.service.config.LoggingHandler  : response meta: 0
可以看到请求参数和返回参数都输出了,这样子如果出现数据问题,可以很方便的排查。
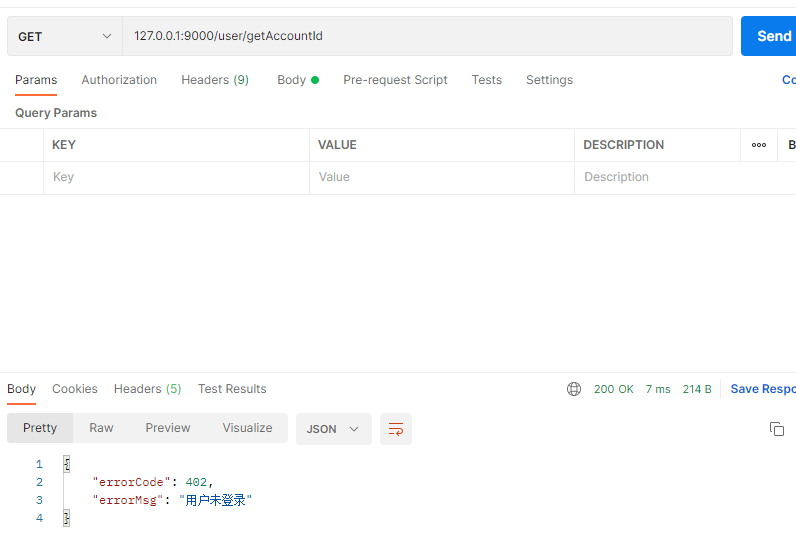
四、弊端
上面的方法只能输出通过gateway转发的其他服务,不能直接输出gateway直接的报错,例如我们请求:http://127.0.0.1:9000/user/getAccountId,这时候我们没有传入token,那么gateway里面就会帮我们直接拦截掉。这时候我们就看不到控制台有日志输出。这一点一定要切记,一定要切记。
本文源码下载:点击下载


还没有评论,来说两句吧...