最近在研究IM相关的内容,大多数IM相关的框架目前都是基于netty进行实施的,所以这里我们抽空挨个把一些重要的点给编写一个系列出来。本文我们主要是编写一个简单的netty服务端。
使用netty进行通信的话,我们主要是使用socket方式进行通信。因此在netty server里面我们需要启动监听某个端口的tcp/ip流量。
要实现一个netty服务端的话,有几个核心的步骤需要做:
1、为nettyserver定义一个监听的端口。
2、为nettyserver定义一个监听的服务器端地址,这一步一般可以忽略掉,或者写成0.0.0.0即可。
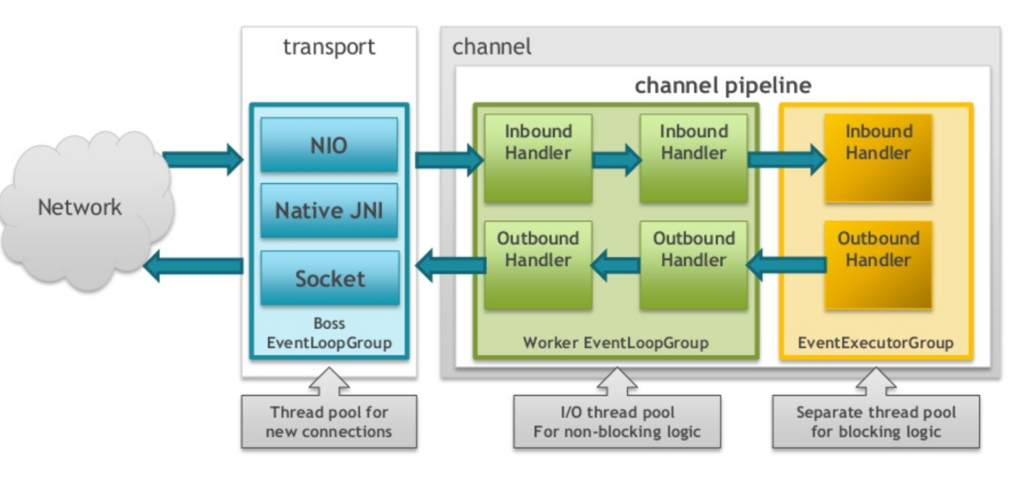
3、在nettyserver中创建一个主线程组和子线程组,主线程组主要是统管子线程组的。
4、需要编写一个处理客户端与服务端数据处理的handler。
基于上面4个核心部分的理解,我们这里就可以来编写一个服务端了。
1)编写netty服务端配置,示例代码如下:
package com.netty.server;

import io.netty.bootstrap.ServerBootstrap;
import io.netty.channel.ChannelFuture;
import io.netty.channel.ChannelInitializer;
import io.netty.channel.ChannelPipeline;
import io.netty.channel.nio.NioEventLoopGroup;
import io.netty.channel.socket.SocketChannel;
import io.netty.channel.socket.nio.NioServerSocketChannel;
import lombok.extern.slf4j.Slf4j;

/**
 * 编写nettyserver的朱磊
 */
@Slf4j
public class NettyServer {

  //设置netty启动的ip
  private String bindIp;

  //设置netty启动的端口
  private int bindPort;

  public NettyServer(int port,String ip) {
   this.bindPort = port;
    this.bindIp = ip;
  }

  /**
   * Netty的启动方法
   */

  public void run() throws Exception {
   // 创建bossGroup 用于监听客户端的连接请求,并且连接请求转发给 workerGroup 处理
   NioEventLoopGroup bossGroup = new NioEventLoopGroup();
   // 创建workerGroup 处理客户端连接的数据读写
   NioEventLoopGroup workerGroup = new NioEventLoopGroup();
   try {
    // 创建 ServerBootstrap 对象,后面用来启动 Netty 服务端
    ServerBootstrap serverBootstrap = new ServerBootstrap();
    // 为ServerBootstrap对象绑定线程池事件组
    serverBootstrap.group(bossGroup, workerGroup).channel(NioServerSocketChannel.class)
      .childHandler(new ChannelInitializer<SocketChannel>() {
       @Override
       public void initChannel(SocketChannel ch) throws Exception {
        ChannelPipeline pipeline = ch.pipeline();
        //添加一个后端处理消息的处理器,在handler里面处理所有的客户端的读写
        pipeline.addLast(new NettyServerHandler());
       }
      });
// 绑定端口,开始接收客户端请求
      ChannelFuture channelFuture =  serverBootstrap.bind(bindIp,bindPort).sync();
      log.info("netty服务端启动完成");
    // 等待服务端监听端口关闭
    channelFuture.channel().closeFuture().sync();
   } finally {
    // 释放线程组资源
    bossGroup.shutdownGracefully();
    workerGroup.shutdownGracefully();
   }
  }
}
2)编写处理客户端与服务端数据交互的handler,示例代码如下:
package com.netty.server;

import io.netty.buffer.ByteBuf;
import io.netty.buffer.Unpooled;
import io.netty.channel.ChannelHandlerContext;
import io.netty.channel.ChannelInboundHandlerAdapter;
import io.netty.util.CharsetUtil;
import lombok.extern.slf4j.Slf4j;

/**
 * 当前类用于和客户端进行读写使用
 */
@Slf4j
public class NettyServerHandler extends ChannelInboundHandlerAdapter {

  /**
   * 客户端连接上服务端的时候(上线),此时会直接进入到这个方法
   * @param ctx
   * @throws Exception
   */
  @Override
  public void channelActive(ChannelHandlerContext ctx) throws Exception {
   String message = "你好";
   ByteBuf hello = Unpooled.copiedBuffer(message, CharsetUtil.UTF_8);
   // 发送消息
   ctx.writeAndFlush(hello);
  }

  /**
   * 当客户端向服务端发送数据的时候,会出发这个方法。
   */
  @Override
  public void channelRead(ChannelHandlerContext ctx, Object msg) throws Exception {
   ByteBuf buf = (ByteBuf) msg;
    log.info("客户端发来消息,内容是:{}",buf.toString(CharsetUtil.UTF_8));
  }

  /**
   * 出现异常的时候会触发这个方法
   */
  @Override
  public void exceptionCaught(ChannelHandlerContext ctx, Throwable cause) throws Exception {
    log.error(cause.getMessage(),cause);
    //出现异常把他给连接关掉
   ctx.close();
  }

}
3)编写netty服务端启动类,示例代码如下:
package com.netty.server;


import lombok.extern.slf4j.Slf4j;

/**
 * 这里作为netty的服务端启动示例
 */
@Slf4j
public class NettyServerAppication {

  public static void main(String[] args) throws Exception {
   // 创建服务器对象,监听端口号为 8888
   NettyServer server = new NettyServer(8888,"0.0.0.0");
   log.info("准备启动Netty服务器");
   server.run();
   log.info("Netty服务器启动完成");
  }

}
4)启动netty服务端
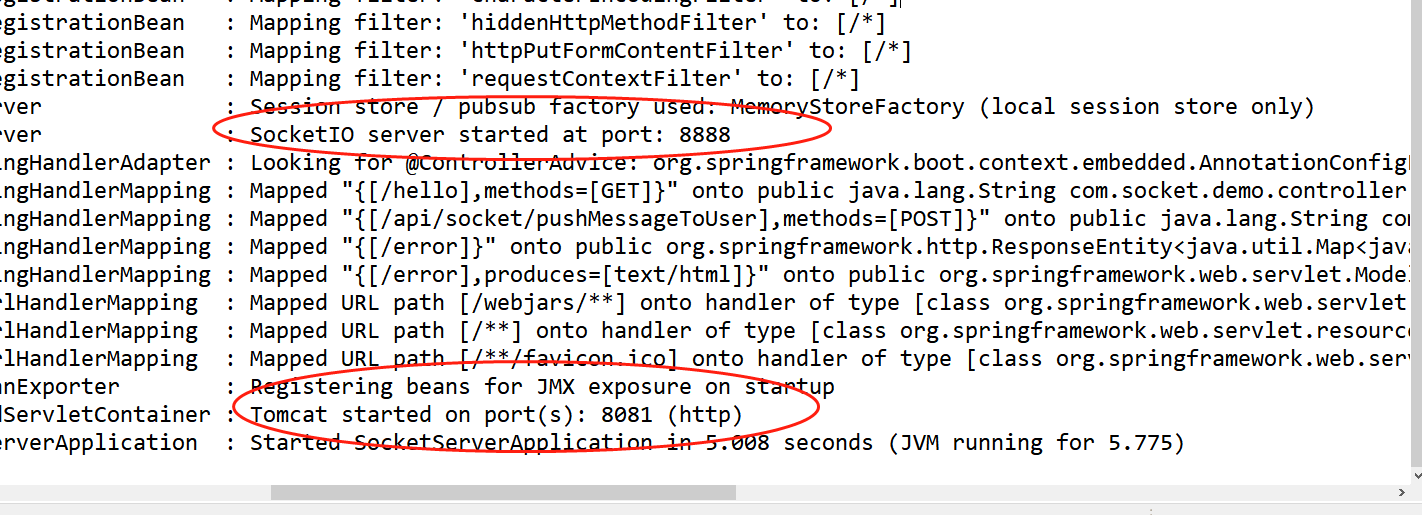
可以看到这里我们的netty服务端启动完全没有问题。
最后附上本案例的源码,登陆后即可下载。



还没有评论,来说两句吧...