上文《数据湖系列(二十一)Spark操作iceberg数据(hdfs插入数据)》我们演示了使用spark直接向hdfs写入iceberg数据的案例,本文我们再来演示spark直接向hive写入iceberg数据的案例。
这里spark需要与hive进行通信,所以这里需要保证hive的metastore服务启动起来了,并且9083端口可以进行正常访问。这里我们还是一样,直接上核心代码:
val spark: SparkSession = SparkSession.builder().master("local").appName("InsertIceberg")
    //指定hive catalog, catalog名称为test2
    .config("spark.sql.catalog.test2", "org.apache.iceberg.spark.SparkCatalog")
    .config("spark.sql.catalog.test2.type", "hive")
    .config("spark.sql.catalog.test2.uri", "thrift://node1:9083")
    .config("iceberg.engine.hive.enabled", "true")
    .getOrCreate()

  //创建一张表users的表,注意这里相关表的地方要写全路径,格式为:${多数据源目录}.${库名}.{表名}
  spark.sql(
    """
      |create table if not exists test2.default.users (id int,name string,age int) using iceberg
""".stripMargin)
  //接着我们向上面创建的users表添加两条示例数据,注意这里相关表的地方要写全路径,格式为:${多数据源目录}.${库名}.{表名}
  spark.sql(
    """
      |insert into test2.default.users values (1,"张三",18),(2,"李四",19)
""".stripMargin)
  //最后我们查询刚才向users表里面创建的示例数据。
  spark.sql(
    """
      |select * from test2.default.users;
""".stripMargin).show()
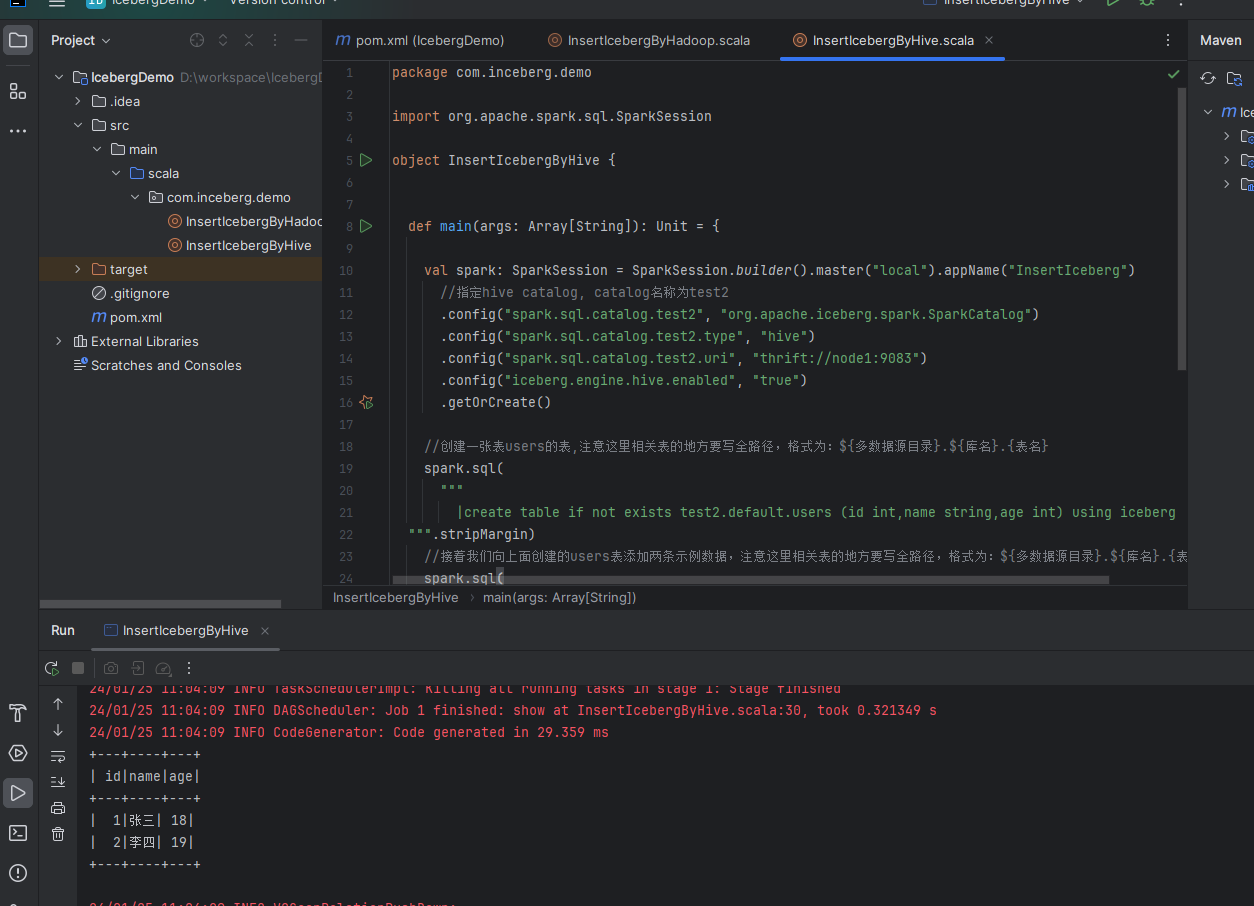
可以看出这里写入hive和直接向hdfs写入是差不多的,主要是在conf中设置对应的catalog的区别。然后我们运行看看效果:
可以看到实现了创建表,插入数据,查询结果的效果。
备注:
1、spark写hive的话,这里只能执行增删查,不能执行update操作,执行的话,会跑错:Exception in thread "main" java.lang.UnsupportedOperationException: UPDATE TABLE is not supported temporarily.
最后附上本案例的源码,登录后即可下载:


还没有评论,来说两句吧...