
这里的apache atlas是一个专门做大数据平台(hadoop体系)的数据血缘关系系统。本文我们介绍下atlas的部署安装教程。
这里我们的atlas主要使用内嵌式的方式进行安装,因为atlas的元数据存储不是像其他平台存储在mysql或者内置db2这样的数据库里面的,而是把元数据存储在hbase和solr中的,因此我们在部署的时候有两种方式:
第一种方式是内嵌式,就是使用atlas自身集成的hbase和solr。
第二种方式是依赖式,就是使用外部已经安装部署号的hbase和solr。
本文我们主要介绍的是使用内嵌式的方式。下面部署开始:
一、准备服务器
apache atlas有一个特点,就是官方不提供标准的二进制部署安装包,而是只提供了源码,我们需要自行编译整个源码,从而得到完整的部署安装包,在编译的过程中,会涉及到出现一些下载依赖组件的文件,因此需要涉及到请求国外的地址(你懂的),所以这里我们建议准备一台香港的服务器进行编译,这样子可以很迅速的请求到国外的地址,在本文末我们提供有编译好的安装包,可以直接使用,所以可以直接在文末下载编译好的安装包,就不用准备这台服务器了。
二、安装java,maven,git环境
在编译的服务器上我们需要安装对应的java、maven和git环境,这里有要求:
jdk需要1.8版本
maven需要至少3.5.0版本及以上
git版本没啥要求
对于这些基础环境的安装,我们就不做过多的介绍了。
三、下载apache atlas源码
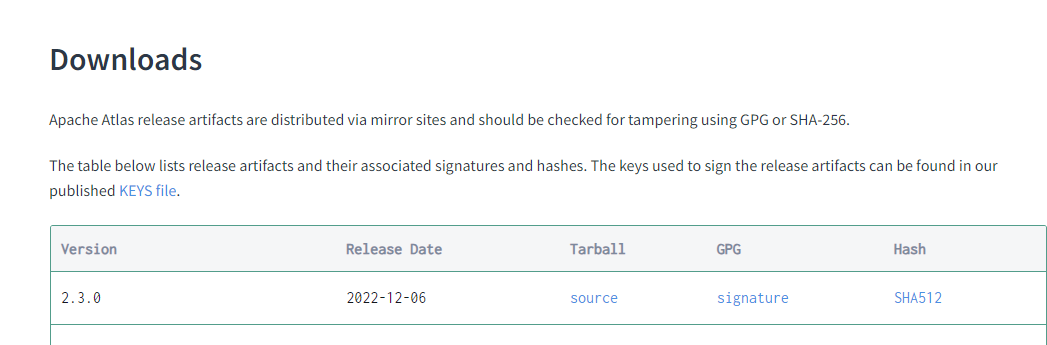
这里我们需要到apache atlas的官网去下载最新的源码包,这里下载的源码包是:2.3.0版本,如下图:
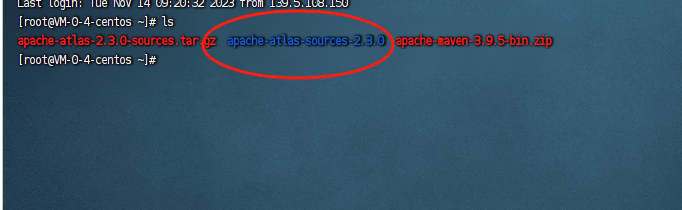
下载完成之后,放到服务器上进行解压即可:
四、编译atlas安装包
这里的编译比较复杂,主要是org.restlet.jee:org.restlet:jar:2.4.3这个包下载有问题,我们需要手动的在浏览器下载之后,放在maven的.m2仓库里面,再重新编译就好。编译命令如下:
mvn -DskipTests -Dmaven.wagon.http.ssl.ignore.validity.dates=true -Dmaven.wagon.http.ssl.allowall=true -Dmaven.wagon.http.ssl.insecure=true clean install
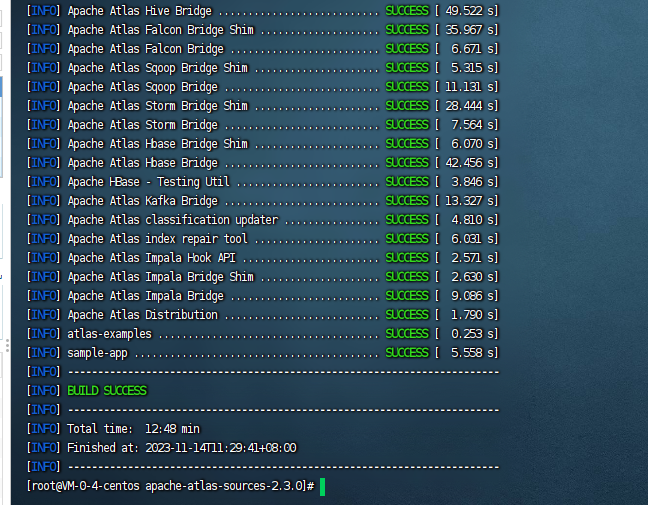
然后等待编译即可,整个编译时长大约会花费30分钟左右,具体看服务器配置。当出现如下的界面,就代表atlas已经编译完成了:
五、打包atlas安装包
接着我们打包下这个atlas的安装包,这里我们主要是需要添加上hbase和solr,因为我们这里是内嵌的方式进行部署安装,因为执行如下的命令:
mvn clean -DskipTests package -Pdist,embedded-hbase-solr
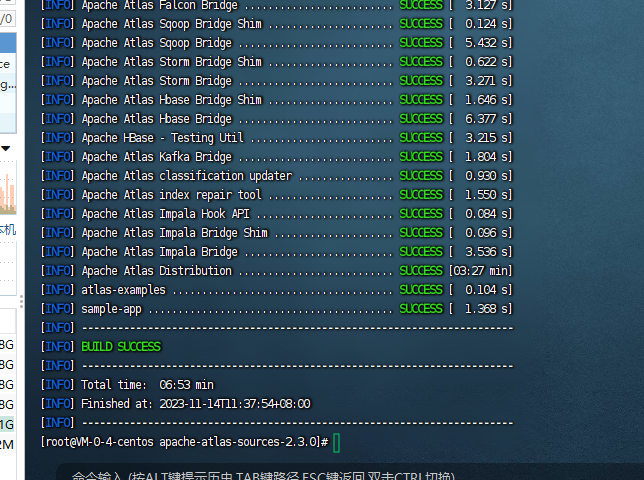
然后继续等待,如果出现如下的界面,就代表打包好了。
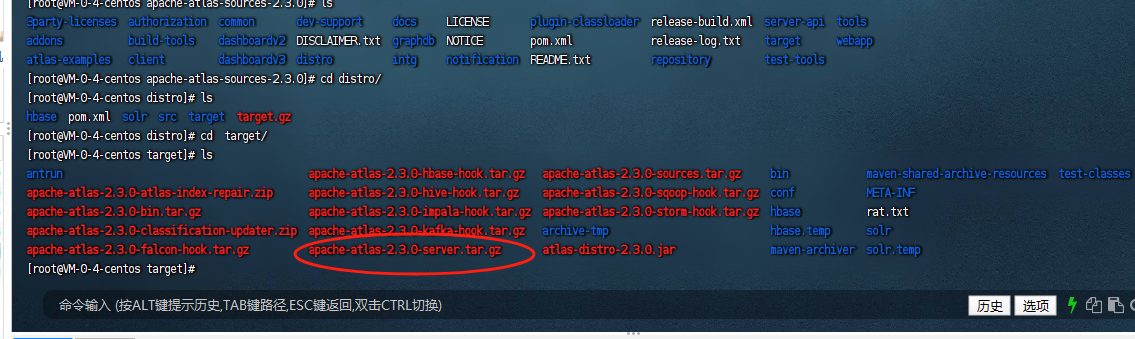
然后我们可以在如下的目录:${atlas}下看到所有打好的安装包:

这里整个tar包压缩之后是3.6G,因此怪不得需要进行编译。
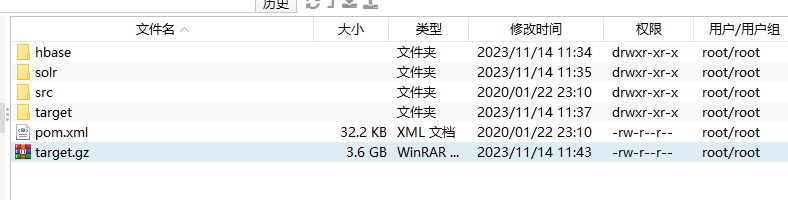
但是其实我们只要这个server安装包就可以了:
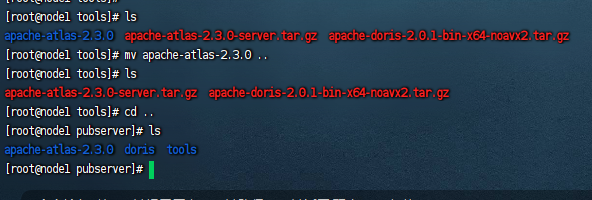
我们把这个包放到准备部署atlas服务的服务器上。
六、部署安装
到这里我们就开始部署安装了,首先我们把这个apache-atlas-2.3.0-server.tar.gz包上传到准备部署atlas服务的服务器上,并且解压,如下图:
1)初始化
这里我们进入到atlas的bin目录下,执行如下的命令:
./atlas_start.py
启动下atalas:

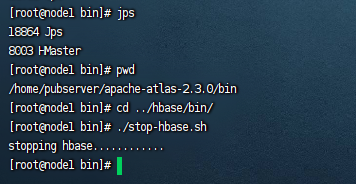
当出现上图的...的时候我们就执行ctrl+c终端服务的执行。然后我们进入到hbase的bin目录下,停止下hbase
备注:
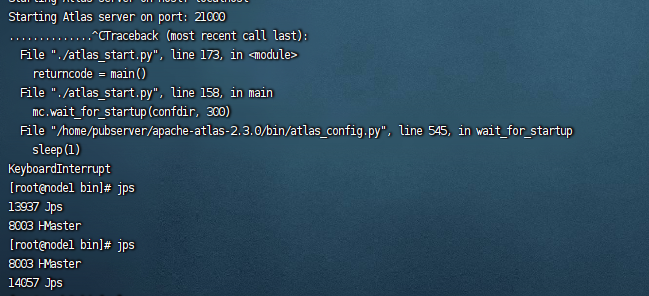
1、这一步其实可以算是启动整个atlas,但是由于atlas的配置问题,第一次直接启动会不成功,在logs日志里面会报大量的错误,这主要是由于hbase和solr还没有初始化成功,后面的程序有需要连接,所以第一次的话,我们出现......的时候就手动把它给停止掉。
2、这里我们手动终止之后为什么要执行以下stop命令呢?这是因为hbase被启动起来了
所以这里我们需要把hbase给关掉,因此执行stop命令。
3、为了保险起见,我们在这里还需要查找下solr程序是否启动起来,这里如果刚出现...就终止的话,其实solr程序是没有启动起来的,但是为了保险起见,我们还是把solr也给关掉下:
ps -aux|grep solr
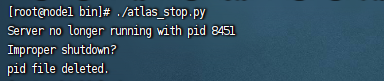
kill ${solr_pid}4、这里为什么不执行./atlas_stop.py这个命令呢?因为此时atlas还没有启动起来,执行的时候,他没找到pid,也就不会去停止solr和hbase了,如下图:
5、我们执行这个atlas的启动主要是为了给hbase和solr初始化环境,详情可查看hbase的conf文件,和启动中的solr信息:

2)启动hbase
从这里开始,我们正式开始启动atlas了,首先我们启动hbase,所以进入到hbase的目录,然后启动,示例图如下:

说明:
1、这里我们是内嵌式的,所以启动hbase的时候会默认启动一个zookeeper,可以使用netsata -an|grep 2181查看,但是看不到zookeeper的进程,也就是使用ps -aux|grep zookeeper是看不到zookeeper进程的。
2、这里由于没有hadoop环境,因此这里hbase只会启动hmaster进程,不会有hbase的其他进程,这是由这里的脚本决定的。
3、这里没有hregion和server进程不影响hbase的使用。
4、这里启动的zookeeper地址默认是127.0.0.1:2181,因此在连接的时候必须使用127.0.0.1或者localhost,使用内网ip或者外网ip是连接不成功的。
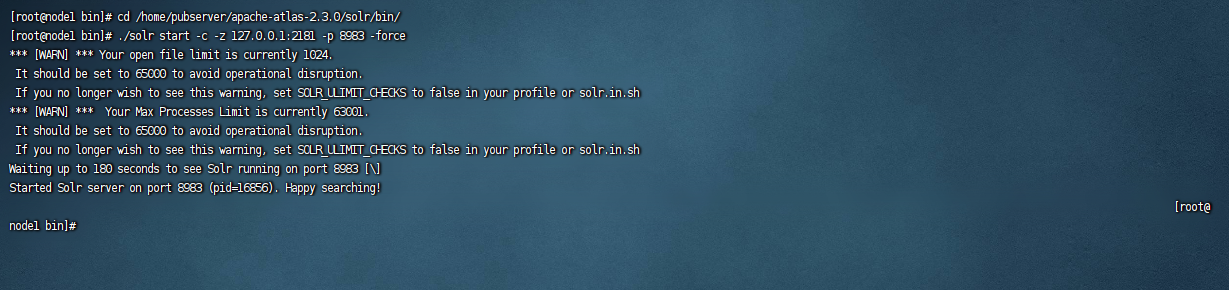
3)启动solr
接着我们启动solr,solr的启动我们也是手动的启动,执行命令如下:
./solr start -c -z 127.0.0.1:2181 -p 8983 -force
具体启动示例图如下:
solr启动成功之后,我们可以从浏览器访问这个8983端口,示例图如下:
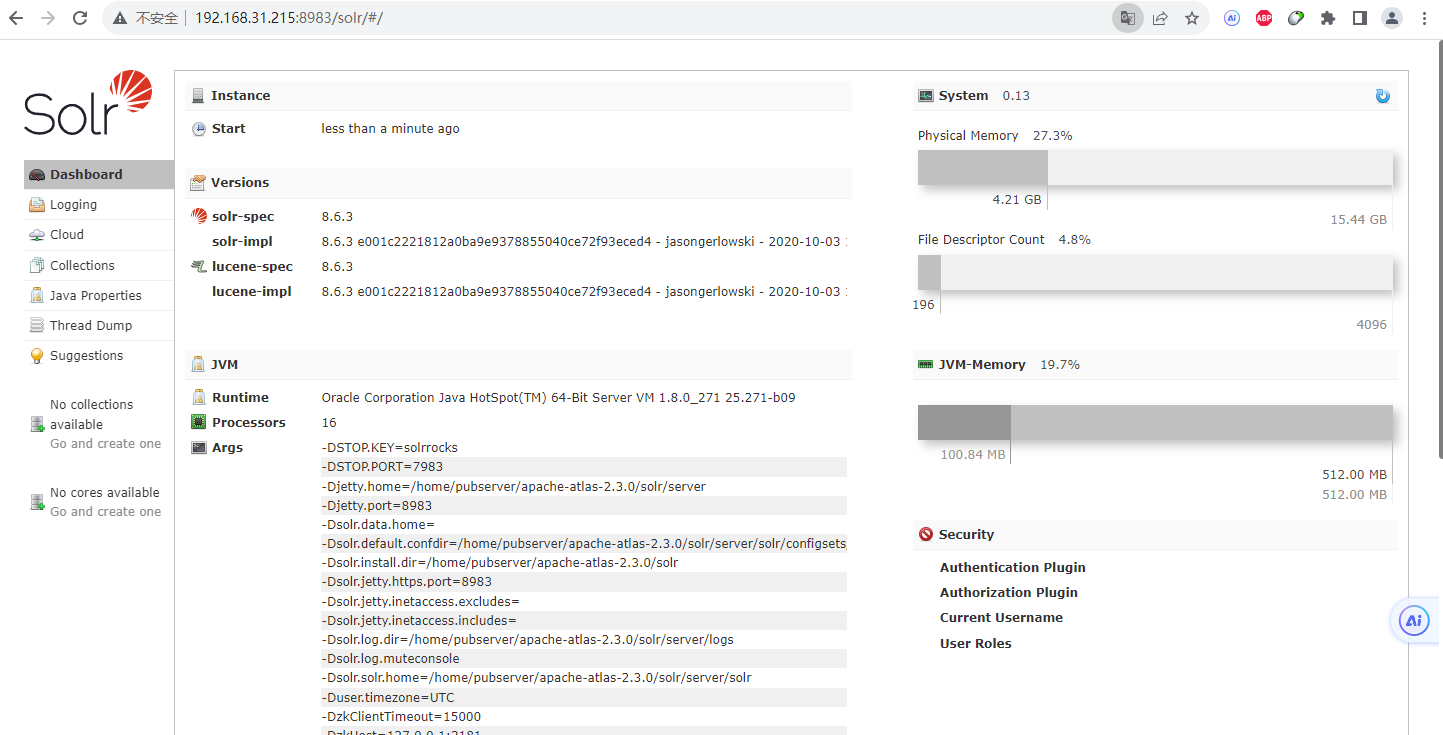
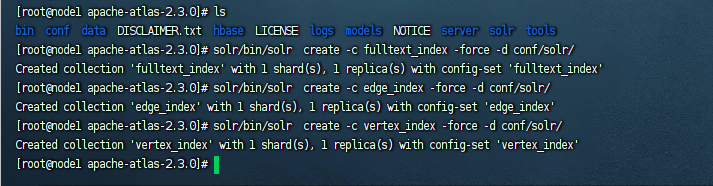
如果能正常访问,就代表solr启动成功了。接着我们给solr初始化几个索引,具体命令如下:
#回到atlas的根目录下

cd /home/pubserver/apache-atlas-2.3.0

#创建索引
solr/bin/solr  create -c fulltext_index -force -d conf/solr/
solr/bin/solr  create -c edge_index -force -d conf/solr/
solr/bin/solr  create -c vertex_index -force -d conf/solr/
创建示例图如下:
4)启动atlas
这里我们进入到最后一步,启动atlas,所以进入到atlas的bin目录下,执行:
./atlas_start.py
这一步启动非常慢,稍微等一会就可以看到启动成功了。
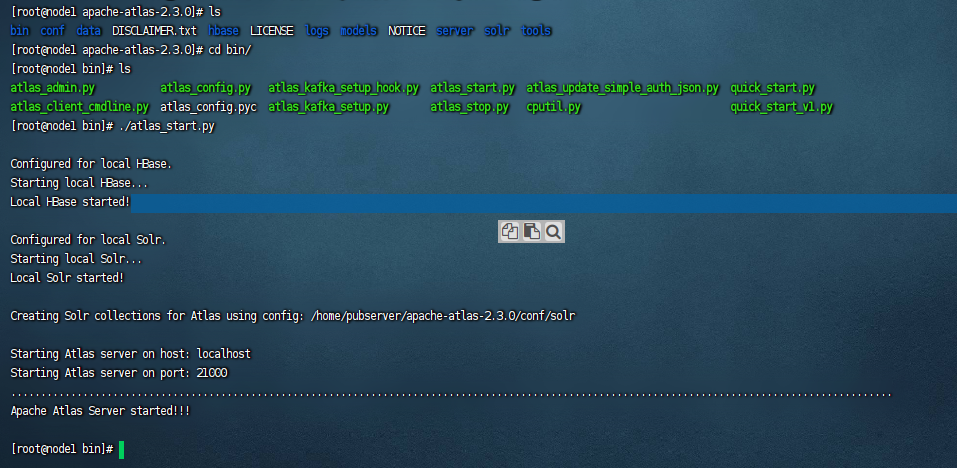
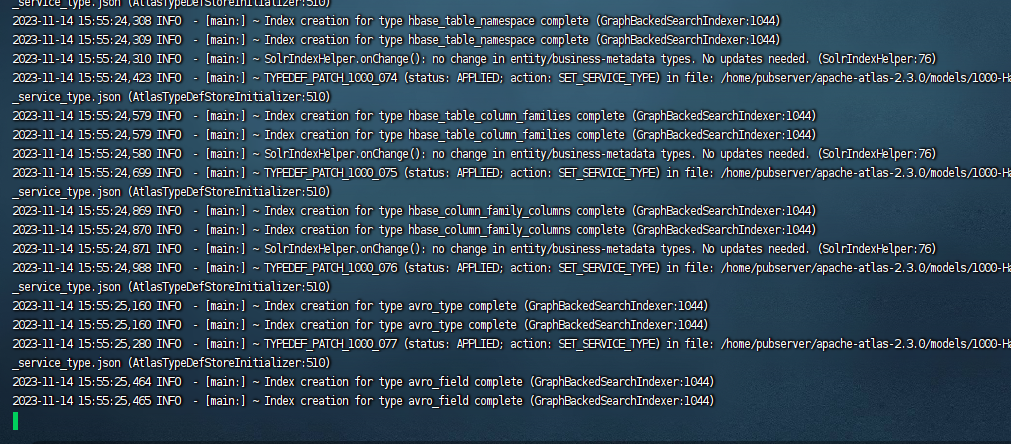
因为第一次启动的时候,需要初始化很多数据,可以查看${atlas_home}/logs/application.log
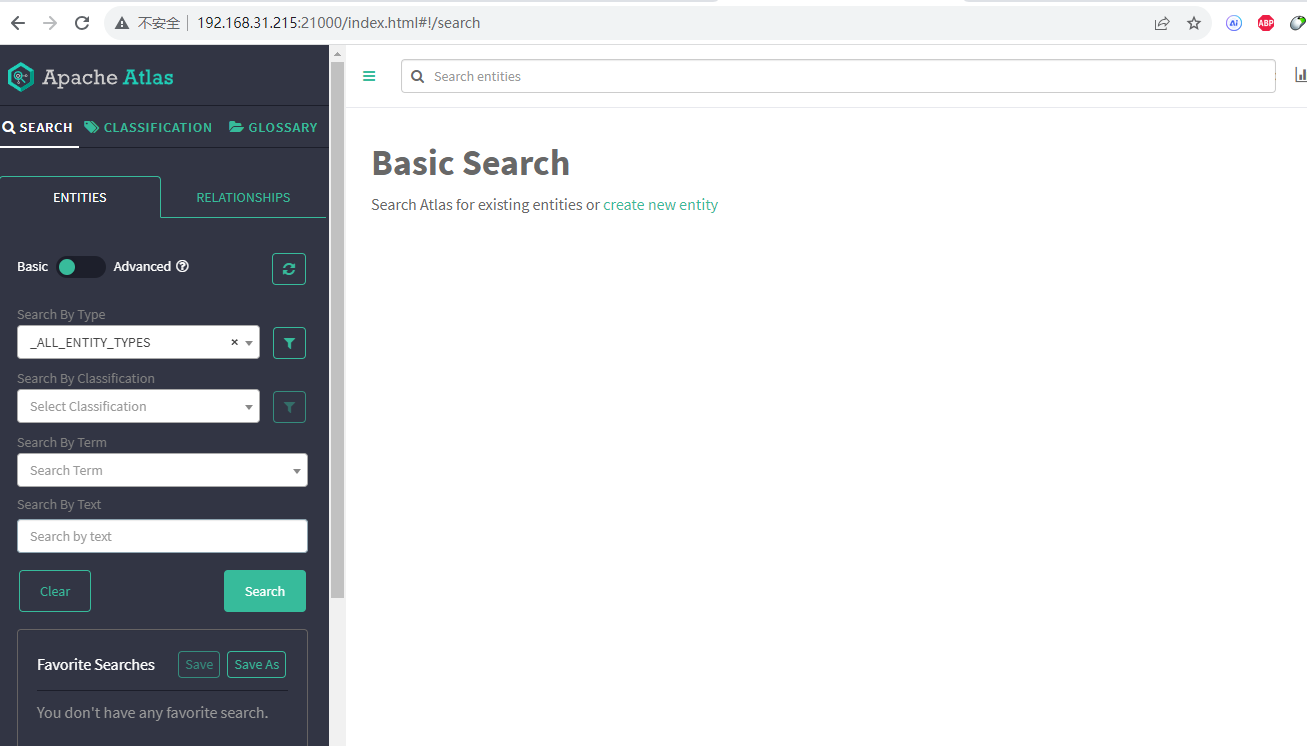
启动完成之后我们可以看到端口是21000端口,这里我们使用浏览器访问下:
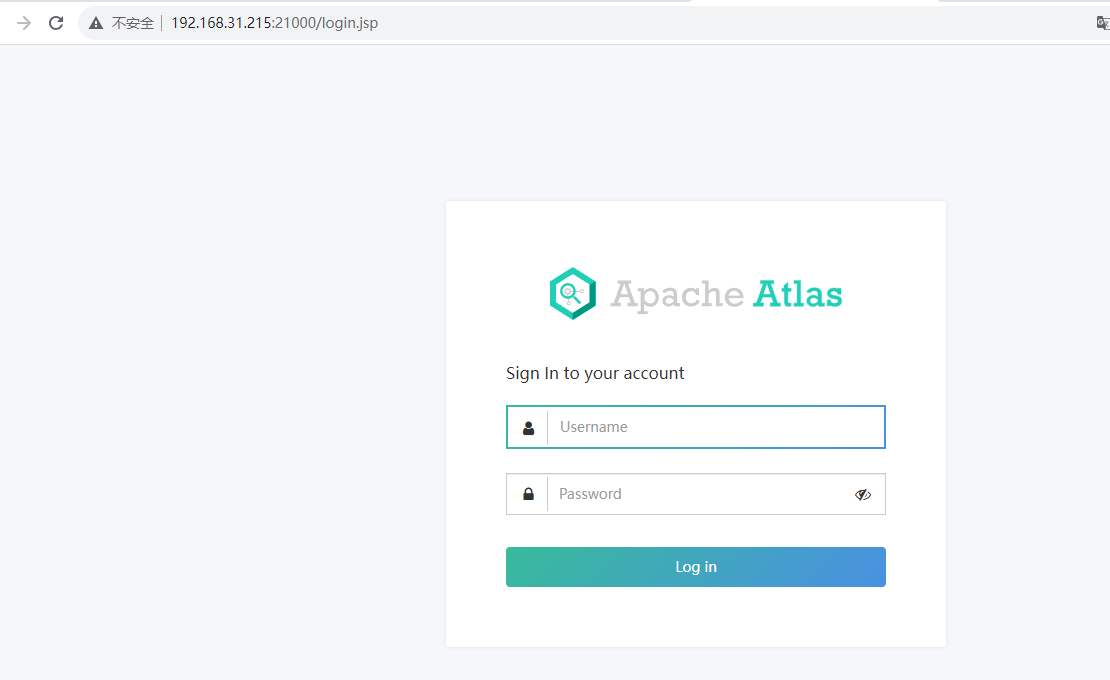
能进入到登录页面,说明部署安装成功了。这里默认的用户名和密码是:
用户名:admin
密码:admin
输入之后就可以登录进来了
以上就是整个atlas安装的教程。最后附上我这边编译好的apache-atlas-2.3.0版本的下载安装包,可以开箱即用,登陆后即可下载。


还没有评论,来说两句吧...