
在使用rabbitmq作为消息队列的时候,我们需要了解下rabbitmq的消息模式。rabbitmq的消息模式有5种,分别是:simple模式,Fanout模式,Direct模式,Topic模式,work模式,。本文主要介绍的是Fanout模式。
Fanout模式其实就是一种发布-订阅的模式,他由一个生产者和多个消费者组成。生产者生产的消息,所有关联的消费者都可以订阅到这条消息。
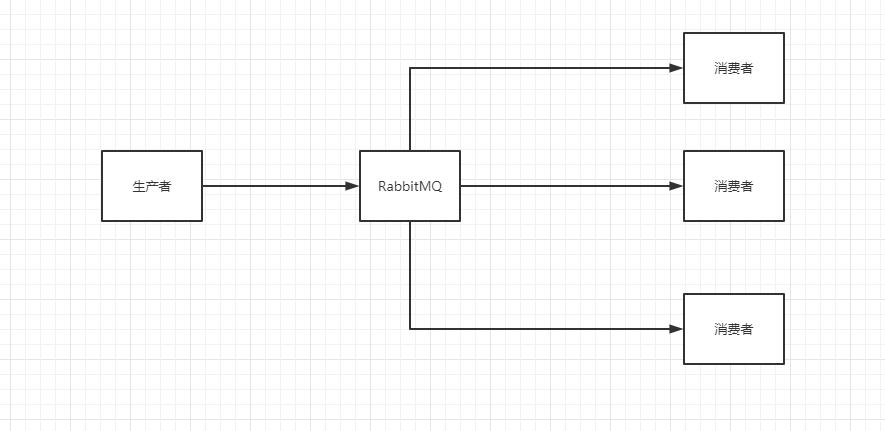
上图就是一个发布订阅的流程图。但是在rabbitmq里面,这个发布订阅的模式是这样子的

rabbitmq的生产者发送消息给交换机,然后交换机把这个消息都挨个发送一遍到绑定的队列里面,消费者从不同的队列里面取数据。所以在rabbitmq的发布-订阅模式里面包含:1个生产者、1个交换机、多个队列、多个消费者。下面我们使用代码演示一下。
一、添加maven依赖
                <dependency>
			<groupId>com.rabbitmq</groupId>
			<artifactId>amqp-client</artifactId>
			<version>5.9.0</version>
		</dependency>
二、编写生产者
package com.rabbitmq.producer;

import java.io.IOException;
import java.nio.charset.StandardCharsets;
import java.util.concurrent.TimeoutException;

import org.junit.After;
import org.junit.Before;
import org.junit.Test;

import com.rabbitmq.client.BuiltinExchangeType;
import com.rabbitmq.client.Channel;
import com.rabbitmq.client.Connection;
import com.rabbitmq.client.ConnectionFactory;
import com.rabbitmq.client.MessageProperties;

import lombok.extern.slf4j.Slf4j;

@Slf4j
public class FanoutProducer {

	private Connection connection = null;
	private Channel channel = null;
	private ConnectionFactory factory = null;

	// 发布订阅模式需要一个交换机
	private String exchangeName = "fanout-exchange";
	// 发布订阅模式需要多个队列绑定到交换机上
	private String quename1 = "test1";
	private String quename2 = "test2";
	private String quename3 = "test3";

	/**
	 * 初始化rabbitmq连接
	 *
	 * @throws TimeoutException
	 * @throws IOException
	 */
	@Before
	public void init() throws IOException, TimeoutException {
		// 1、初始化连接参数
		factory = new ConnectionFactory();
		factory.setHost("192.168.31.20");
		// 设置rabbitmq的登录账号和密码
		factory.setUsername("guest");
		factory.setPassword("guest");
		factory.setPort(5673); // 默认端口是5672,这里服务器端口冲突,因此改到5673
		factory.setVirtualHost("/");
		// 2、创建连接、通道
		connection = factory.newConnection();
		channel = connection.createChannel();

		// 绑定交换机,并且类型选择使用fanout
		channel.exchangeDeclare(exchangeName, BuiltinExchangeType.FANOUT);

		// 为交换机绑定队列
		channel.queueDeclare(quename1, true, false, false, null);
		channel.queueDeclare(quename2, true, false, false, null);
		channel.queueDeclare(quename3, true, false, false, null);

		//为队列绑定channel
		channel.queueBind(quename1, exchangeName, "");
		channel.queueBind(quename2, exchangeName, "");
		channel.queueBind(quename3, exchangeName, "");


	}

	@After
	public void destroy() {
		// 关闭通道
		if (channel != null && channel.isOpen()) {
			try {
				channel.close();
			} catch (Exception e) {
				log.error(e.getMessage(), e);
			}
		}
		// 关闭连接
		if (connection != null && connection.isOpen()) {
			try {
				connection.close();
			} catch (Exception e) {
				log.error(e.getMessage(), e);
			}
		}
	}

	@Test
	public void sendMsg() throws Exception {

		// 发送消息内容
		String message = "take a message";

		// 这里发送消息我们就指定的是交换机,发给交换机,而不是发给指定的队列
		channel.basicPublish(exchangeName, "", MessageProperties.PERSISTENT_TEXT_PLAIN,
				message.getBytes(StandardCharsets.UTF_8));
		log.info("发送消息完成,消息内容是:{}", message);
	}

}
三、编写消费者
package com.rabbitmq.producer;
import java.io.IOException;
import java.util.concurrent.TimeoutException;
import com.rabbitmq.client.CancelCallback;
import com.rabbitmq.client.Channel;
import com.rabbitmq.client.Connection;
import com.rabbitmq.client.ConnectionFactory;
import com.rabbitmq.client.DeliverCallback;
import com.rabbitmq.client.Delivery;
import lombok.extern.slf4j.Slf4j;
@Slf4j
public class FanoutConsumer {
private static final String queueName = "test1";
public static void main(String[] args) throws IOException, TimeoutException {
// 1、创建连接工程
ConnectionFactory factory = new ConnectionFactory();
factory.setHost("192.168.31.20");
factory.setUsername("guest");
factory.setPassword("guest");
factory.setPort(5673);
factory.setVirtualHost("/");
// 2、获取 Connection和 Channel
Connection connection = factory.newConnection();
Channel channel = connection.createChannel();
channel.basicConsume(queueName, true, new DeliverCallback() {
@Override
public void handle(String consumerTag, Delivery delivery) throws IOException {
log.info("消息队列:{} 接收到消息:{}",queueName,new String(delivery.getBody(), "UTF-8"));
}
}, new CancelCallback() {
@Override
public void handle(String consumerTag) throws IOException {
}
});
log.info("消费者启动成功,准备开始消费数据");
}
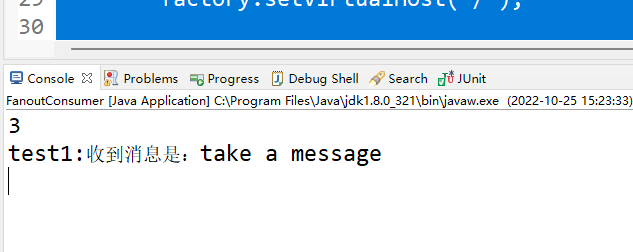
}然后运行下生产者
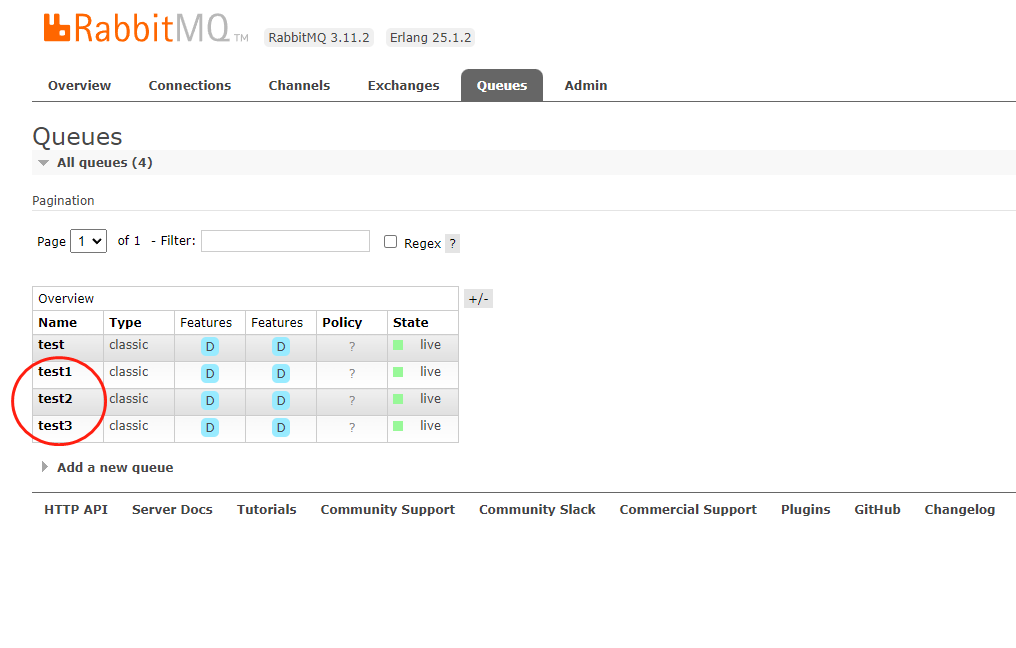
可以看到自动创建了3个queue,然后把消费者的queue那么修改为test1或者test2或者test3都能接收到消息。
以上就是Rabbitmq的Fanout消息模式。
备注:
1、在Fanout消息模式里面需要为交换机绑定消息队列,有多少订阅者就需要绑定多少消息队列
2、在Fanout消息模式里面需要为每一个queue绑定一个chanel。
3、在Fanout消息模式里面,生产者是向交换机发送消息,而不是向队列发送消息。


还没有评论,来说两句吧...