
上一篇文章《实战Spring Cloud Oauth2系列(十一)添加微服务网关及业务服务》我们做了一个初步的案例,也就是通过spring cloud gateway来访问这个product服务,这篇文章我们在spring cloud gateway里面集成一下oauth2.0的拦截,让其所有的访问都拦截校验一遍这个accesstoken,这样子就可以达到很安全的目的。
在spring cloud gateway里面拦截这个accesstoken的话,其实最主要的还是依靠的是spring security来进行拦截,所以这里首先我们需要添加一个SecurityConfig,代码示例如下:
package org.shop.gateway.server.config;

import org.shop.gateway.server.manager.AccessManager;
import org.shop.gateway.server.manager.AuthorizationManager;
import org.shop.gateway.server.manager.RedisTokenAuthenticationManager;
import org.springframework.beans.factory.annotation.Autowired;
import org.springframework.context.annotation.Bean;
import org.springframework.context.annotation.Configuration;
import org.springframework.http.HttpMethod;
import org.springframework.security.config.web.server.SecurityWebFiltersOrder;
import org.springframework.security.config.web.server.ServerHttpSecurity;
import org.springframework.security.oauth2.server.resource.web.server.ServerBearerTokenAuthenticationConverter;
import org.springframework.security.web.server.SecurityWebFilterChain;
import org.springframework.security.web.server.authentication.AuthenticationWebFilter;

@Configuration
public class SecurityConfig {
	@Autowired
	private AuthorizationManager authorizationManager;

	@Autowired
	private RedisTokenAuthenticationManager redisTokenAuthenticationManager;

	@Bean
	SecurityWebFilterChain webFluxSecurityFilterChain(ServerHttpSecurity http) throws Exception {
		// 认证过滤器
		AuthenticationWebFilter authenticationWebFilter = new AuthenticationWebFilter(redisTokenAuthenticationManager);
		authenticationWebFilter.setServerAuthenticationConverter(new ServerBearerTokenAuthenticationConverter());

		http.httpBasic().disable().csrf().disable().authorizeExchange().pathMatchers(HttpMethod.OPTIONS).permitAll()
				.anyExchange().access(authorizationManager).and()
				// oauth2认证过滤器
				.addFilterAt(authenticationWebFilter, SecurityWebFiltersOrder.AUTHENTICATION);
		return http.build();
	}
}
在这里我们主要是声明一个认证过滤器,也就是拦截所有的请求,然后交给这个认证过滤器来进行处理。这里认证过滤器的话,就是这个AuthorizationManager类,AuthorizationManager这个类的完整代码如下:
package org.shop.gateway.server.manager;

import lombok.extern.slf4j.Slf4j;
import org.springframework.security.authorization.AuthorizationDecision;
import org.springframework.security.authorization.ReactiveAuthorizationManager;
import org.springframework.security.core.Authentication;
import org.springframework.security.oauth2.provider.OAuth2Authentication;
import org.springframework.security.web.server.authorization.AuthorizationContext;
import org.springframework.stereotype.Component;
import org.springframework.util.AntPathMatcher;
import org.springframework.web.server.ServerWebExchange;
import reactor.core.publisher.Mono;

import java.util.Set;
import java.util.concurrent.ConcurrentSkipListSet;

import javax.annotation.PostConstruct;

@Slf4j
@Component
public class AuthorizationManager implements ReactiveAuthorizationManager<AuthorizationContext> {

	//设置白名单
	private Set<String> permitAll = new ConcurrentSkipListSet<>();
    private static final AntPathMatcher antPathMatcher = new AntPathMatcher();


    @PostConstruct
    public void initPermitAll() {
        permitAll.add("/");
        permitAll.add("/error");
        permitAll.add("/favicon.ico");
        permitAll.add("/**/v2/api-docs/**");
        permitAll.add("/**/swagger-resources/**");
        permitAll.add("/webjars/**");
        permitAll.add("/doc.html");
        permitAll.add("/swagger-ui.html");
        permitAll.add("/**/oauth/**");
        permitAll.add("/**/current/get");
    }

    /**
     * 实现权限验证判断
     */
    @Override
    public Mono<AuthorizationDecision> check(Mono<Authentication> authenticationMono, AuthorizationContext authorizationContext) {
        ServerWebExchange exchange = authorizationContext.getExchange();
        //请求资源
        String requestPath = exchange.getRequest().getURI().getPath();

        log.info("当前请求的资源路径是:{}",requestPath);


        // 是否直接放行
        if (permitAll(requestPath)) {
            return Mono.just(new AuthorizationDecision(true));
        }

        return authenticationMono.map(auth -> {
            return new AuthorizationDecision(checkAuthorities(exchange, auth, requestPath));
        }).defaultIfEmpty(new AuthorizationDecision(false));

    }

    /**
     * 校验是否属于静态资源
     *
     * @param requestPath 请求路径
     * @return
     */
    private boolean permitAll(String requestPath) {
        return permitAll.stream()
                .filter(r -> antPathMatcher.match(r, requestPath)).findFirst().isPresent();
    }

    //权限校验
    private boolean checkAuthorities(ServerWebExchange exchange, Authentication auth, String requestPath) {
        if (auth instanceof OAuth2Authentication) {
            OAuth2Authentication athentication = (OAuth2Authentication) auth;
            String clientId = athentication.getOAuth2Request().getClientId();
            log.info("clientId is {}", clientId);
        }
        Object principal = auth.getPrincipal();
        log.info("用户信息:{}", principal.toString());
        return true;
    }
}
这里主要是做的拦截,匹配每一个url,遇到url是白名单的,则放行,如果不在白名单内,那么就使用oauth进行验证下token信息,这里还涉及到一个RedisTokenAuthenticationManager这个类,这个类主要是由于我们把oauth生成的token存放在redis中的,所以需要从redis中取对应的token。RedisTokenAuthenticationManager这个类的完整代码如下:
package org.shop.gateway.server.manager;
import javax.annotation.PostConstruct;
import org.shop.common.model.rule.CustomAuthenticationKeyGenerator;
import org.springframework.beans.factory.annotation.Autowired;
import org.springframework.data.redis.connection.RedisConnectionFactory;
import org.springframework.security.authentication.ReactiveAuthenticationManager;
import org.springframework.security.core.Authentication;
import org.springframework.security.oauth2.common.OAuth2AccessToken;
import org.springframework.security.oauth2.common.exceptions.InvalidTokenException;
import org.springframework.security.oauth2.provider.OAuth2Authentication;
import org.springframework.security.oauth2.provider.token.TokenStore;
import org.springframework.security.oauth2.provider.token.store.redis.RedisTokenStore;
import org.springframework.security.oauth2.server.resource.BearerTokenAuthenticationToken;
import org.springframework.stereotype.Component;
import lombok.extern.slf4j.Slf4j;
import reactor.core.publisher.Mono;
@Slf4j
@Component
public class RedisTokenAuthenticationManager implements ReactiveAuthenticationManager {
@Autowired
private RedisConnectionFactory connectionFactory;
private TokenStore tokenStore;
@PostConstruct
public void initTokenStore() {
RedisTokenStore tokenStore = new RedisTokenStore(connectionFactory);
tokenStore.setAuthenticationKeyGenerator(new CustomAuthenticationKeyGenerator());
this.tokenStore = tokenStore;
}
@Override
public Mono<Authentication> authenticate(Authentication authentication) {
return Mono.justOrEmpty(authentication).filter(a -> a instanceof BearerTokenAuthenticationToken)
.cast(BearerTokenAuthenticationToken.class).map(BearerTokenAuthenticationToken::getToken)
.flatMap((accessToken -> {
log.info("accessToken is :{}", accessToken);
OAuth2AccessToken oAuth2AccessToken = this.tokenStore.readAccessToken(accessToken);
if (oAuth2AccessToken == null) {
return Mono.error(new InvalidTokenException("invalid access token,please check"));
} else if (oAuth2AccessToken.isExpired()) {
return Mono.error(new InvalidTokenException("access token has expired,please reacquire token"));
}
OAuth2Authentication oAuth2Authentication = this.tokenStore.readAuthentication(accessToken);
if (oAuth2Authentication == null) {
return Mono.error(new InvalidTokenException("Access Token 无效!"));
} else {
return Mono.just(oAuth2Authentication);
}
})).cast(Authentication.class);
}
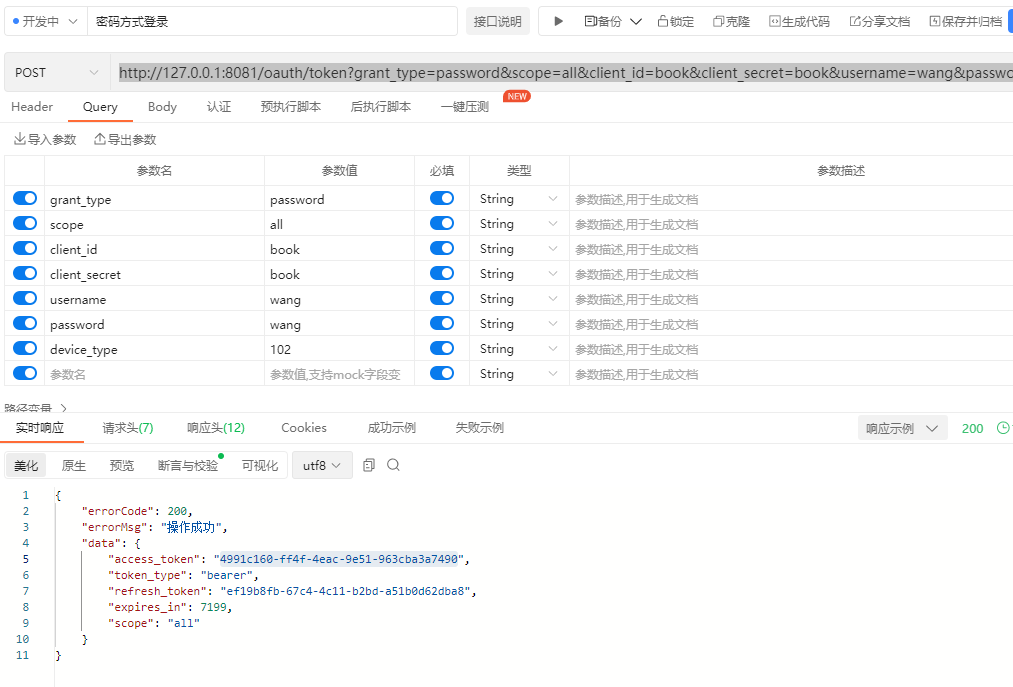
}有了这三个类,我们就完整的实现了在spring cloud gateway里面拦截oauth2.0客户端的需求,然后我们启动下gateway,oauth,product这三个服务,首先申请一个token:
http://127.0.0.1:8081/oauth/token?grant_type=password&scope=all&client_id=book&client_secret=book&username=wang&password=wang&device_type=102
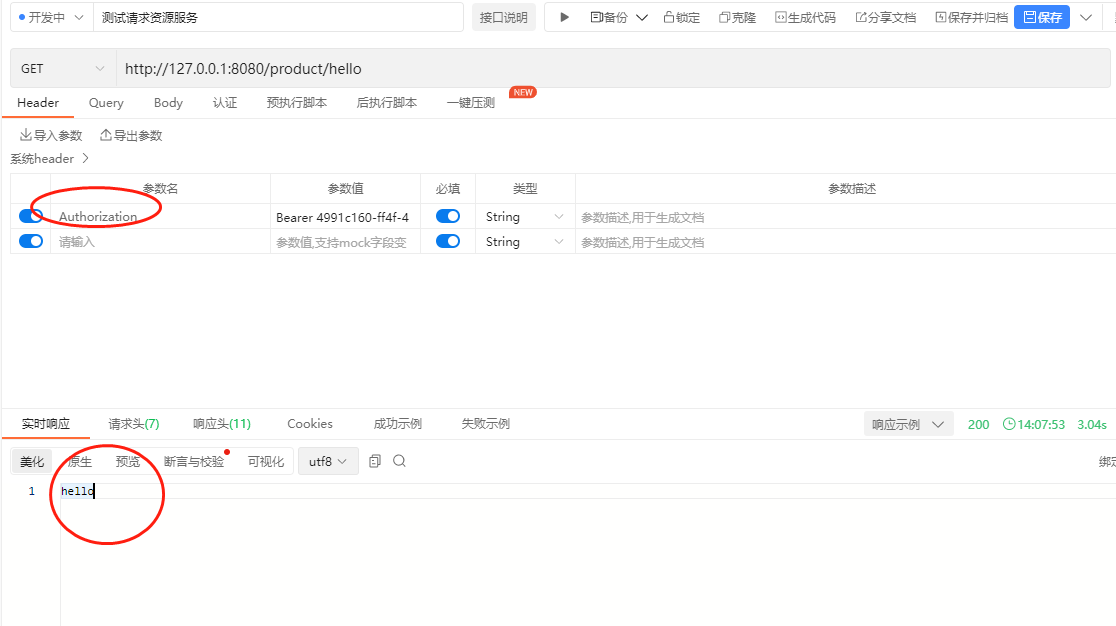
申请完token之后,我们请求product服务:
http://127.0.0.1:8080/product/hello
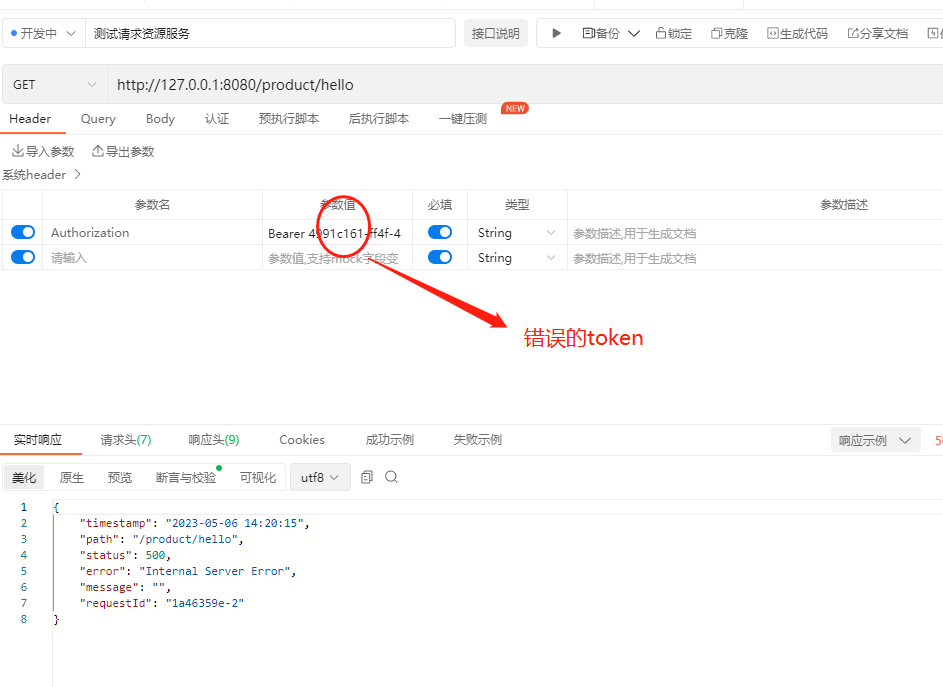
当我们在header头里面带上token的时候就会看到请求成功了,没有带上或者带上错误的token,则请求会失败,程序会报错(报错我们在后面的文章处理)
如果我们输入错误的token,则会显示失败的信息:
以上就是在springf cloud gateway里面添加oauth2.0拦截的案例,最后附上源码,登录后即可下载。


还没有评论,来说两句吧...